I remember in Seventh Grade I begged my parents for braces. I had one K-9 tooth that stuck out, my front teeth overlapped each other, and I had a few extra teeth that crowded everything else. I was so embarrassed and I didn’t feel cool or pretty. My dad told me if I wanted braces I had to start smiling more. Ugh! I convinced him if I got braces I wouldn’t stop smiling, and at the beginning of Eighth Grade I was a full-fledged metal mouth. I got my braces off almost two years later and I couldn’t be happier! Except one thing, my teeth were never radiantly white.
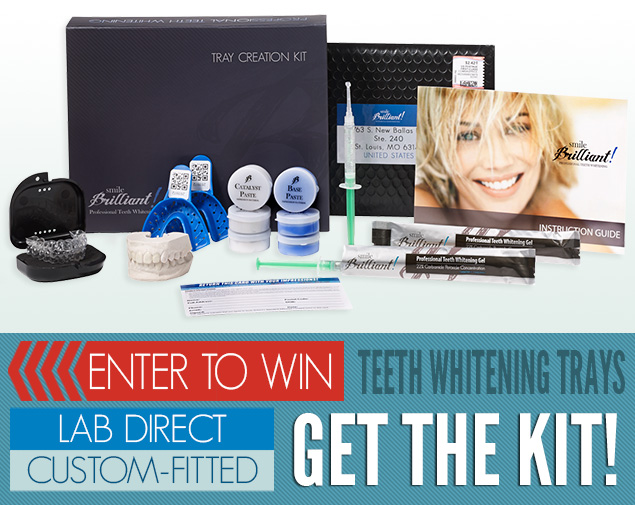
I always wanted to go into a dentist to get them professionally whitened but that was so expensive! And I never had the patience or discipline to upkeep with at-home whitening stripes. Recently, Smile Brilliant reached out to me, and it changed the at-home whitening game for me! I liked that they offer a custom whitening tray to fit my teeth (so those stupid stripes don’t slide around) and they also have desensitizing gel to re-hydrate your teeth (because we all know the whitening process isn’t particularly great for your teeth). I decided to give it a try, and I can honestly say I encourage you to try it! I love it!
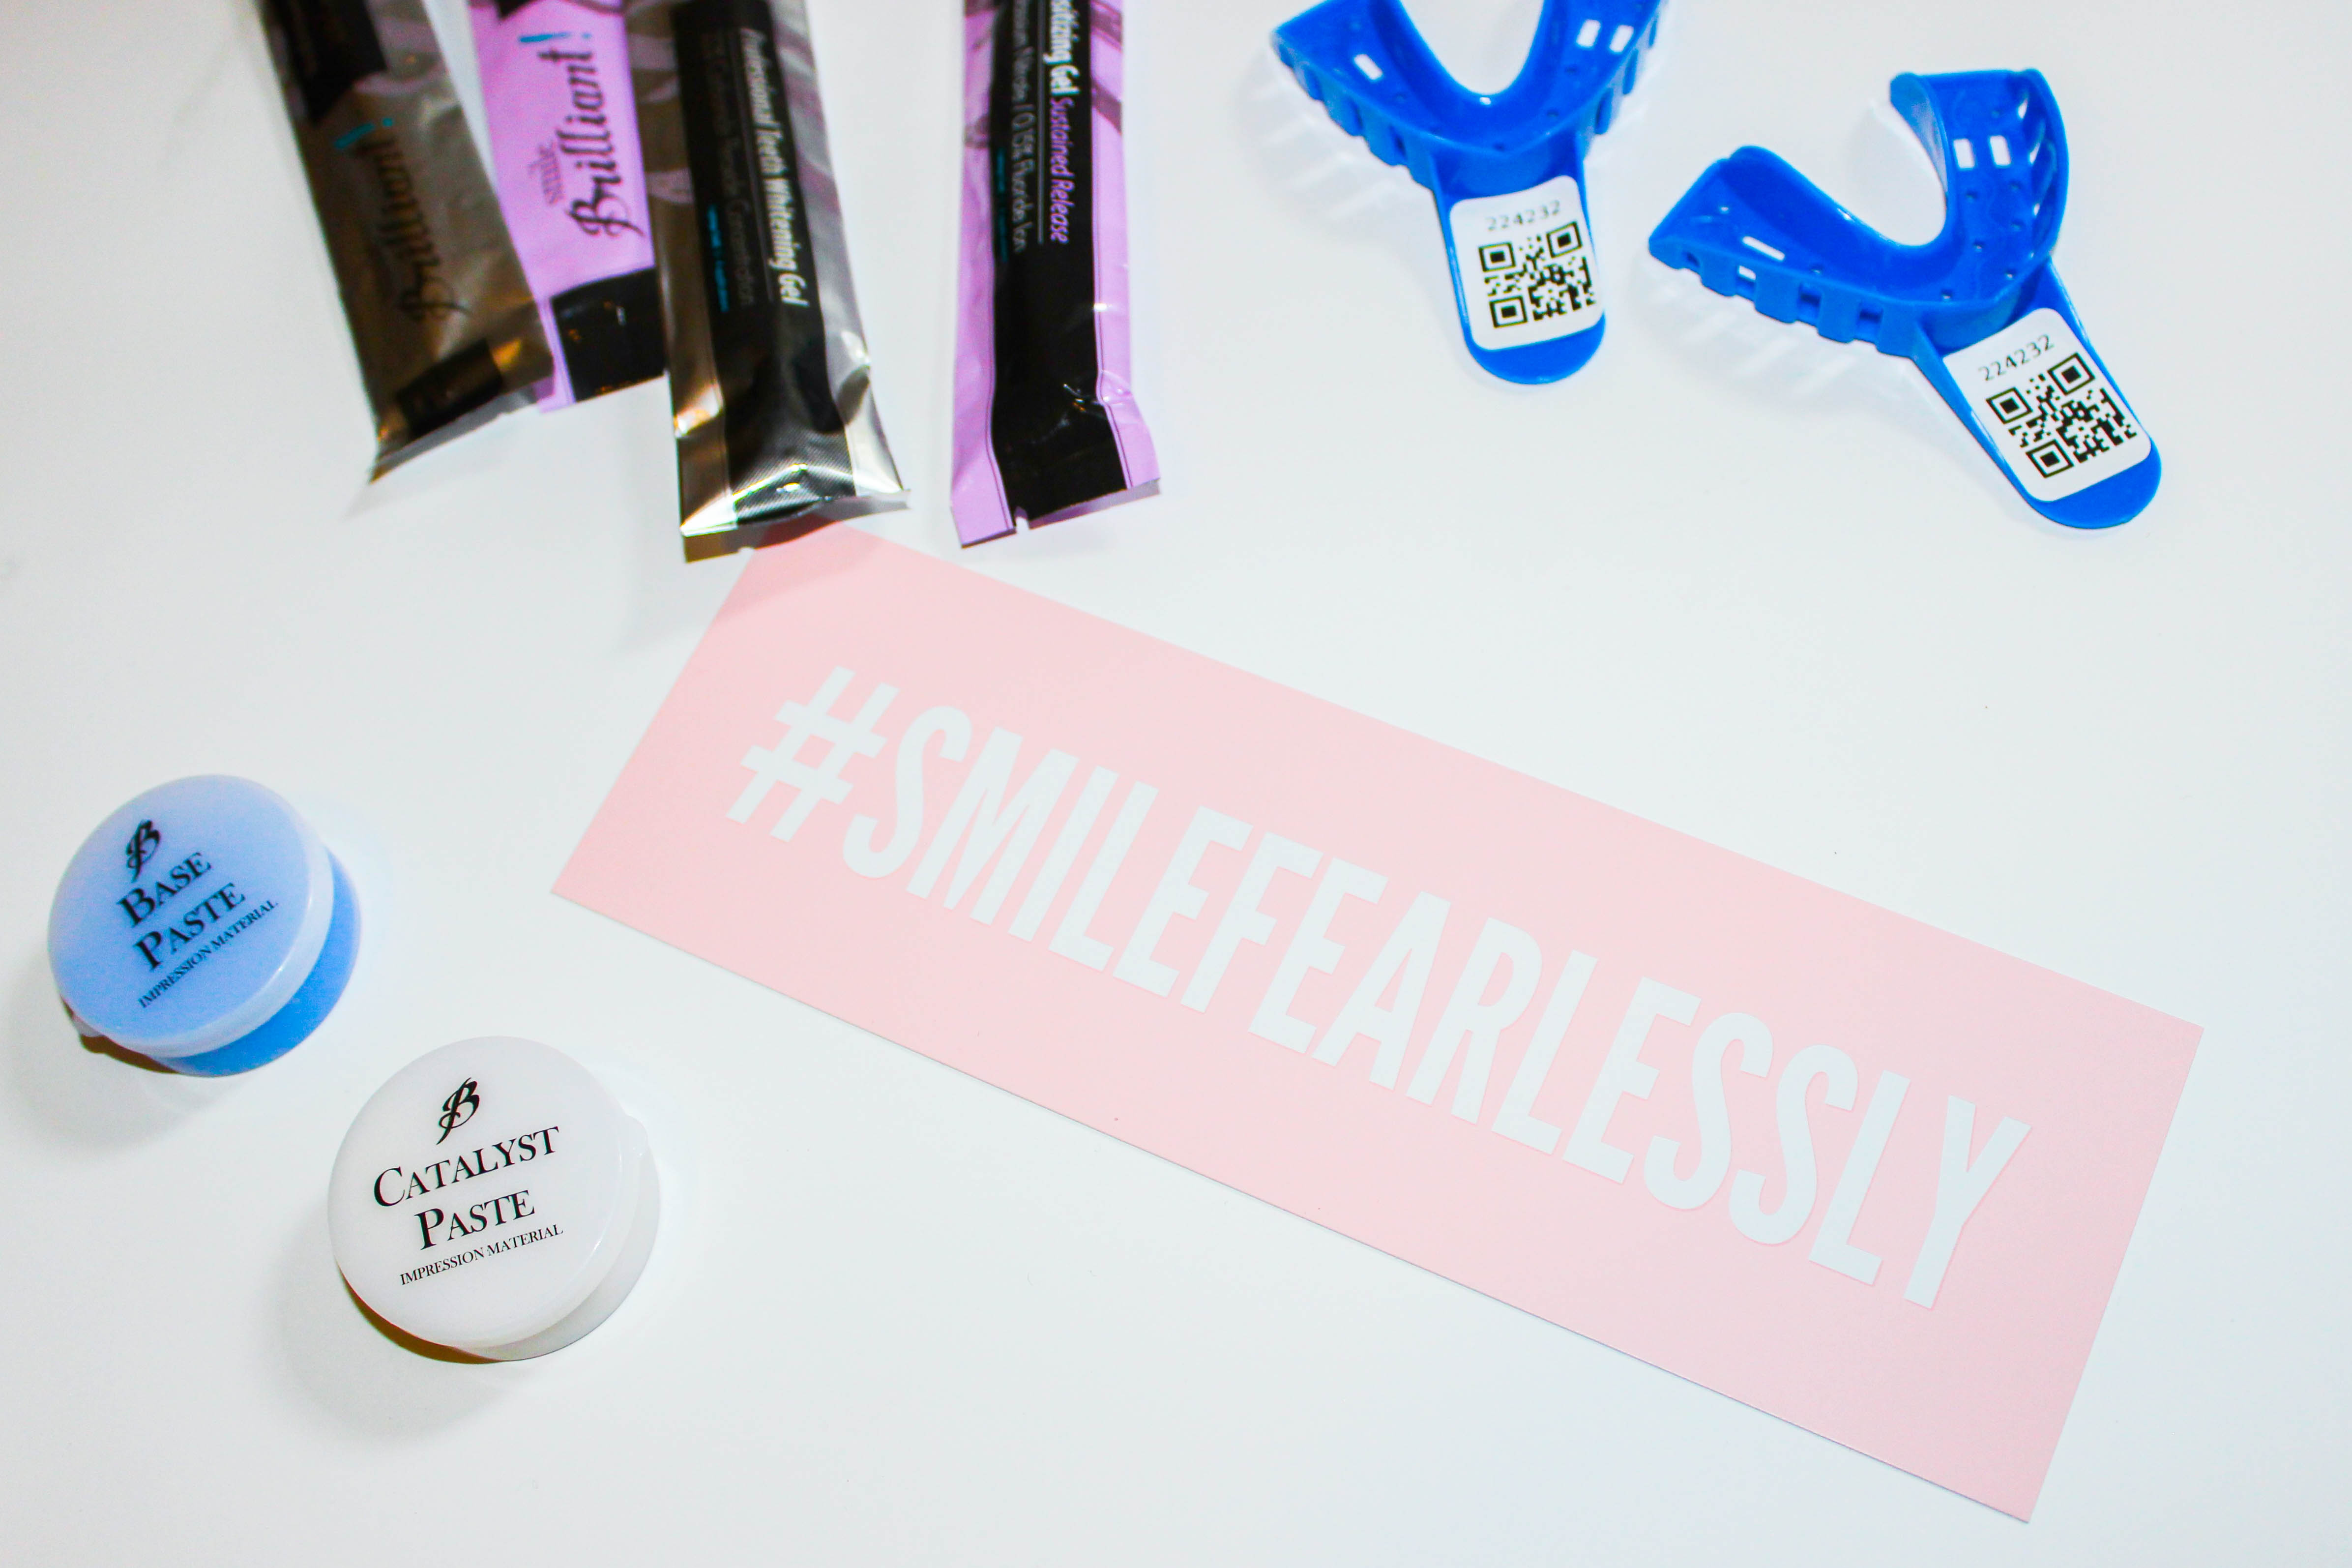
The process was super simple and depending on how often you use it, you can see results in just a couple sessions. Personally, my teeth and gums are pretty sensitive, so I wanted to space out my sessions just in case. But some bloggers (you can watch a YouTube video below) did it everyday for a week and saw instant results! Here are the steps:
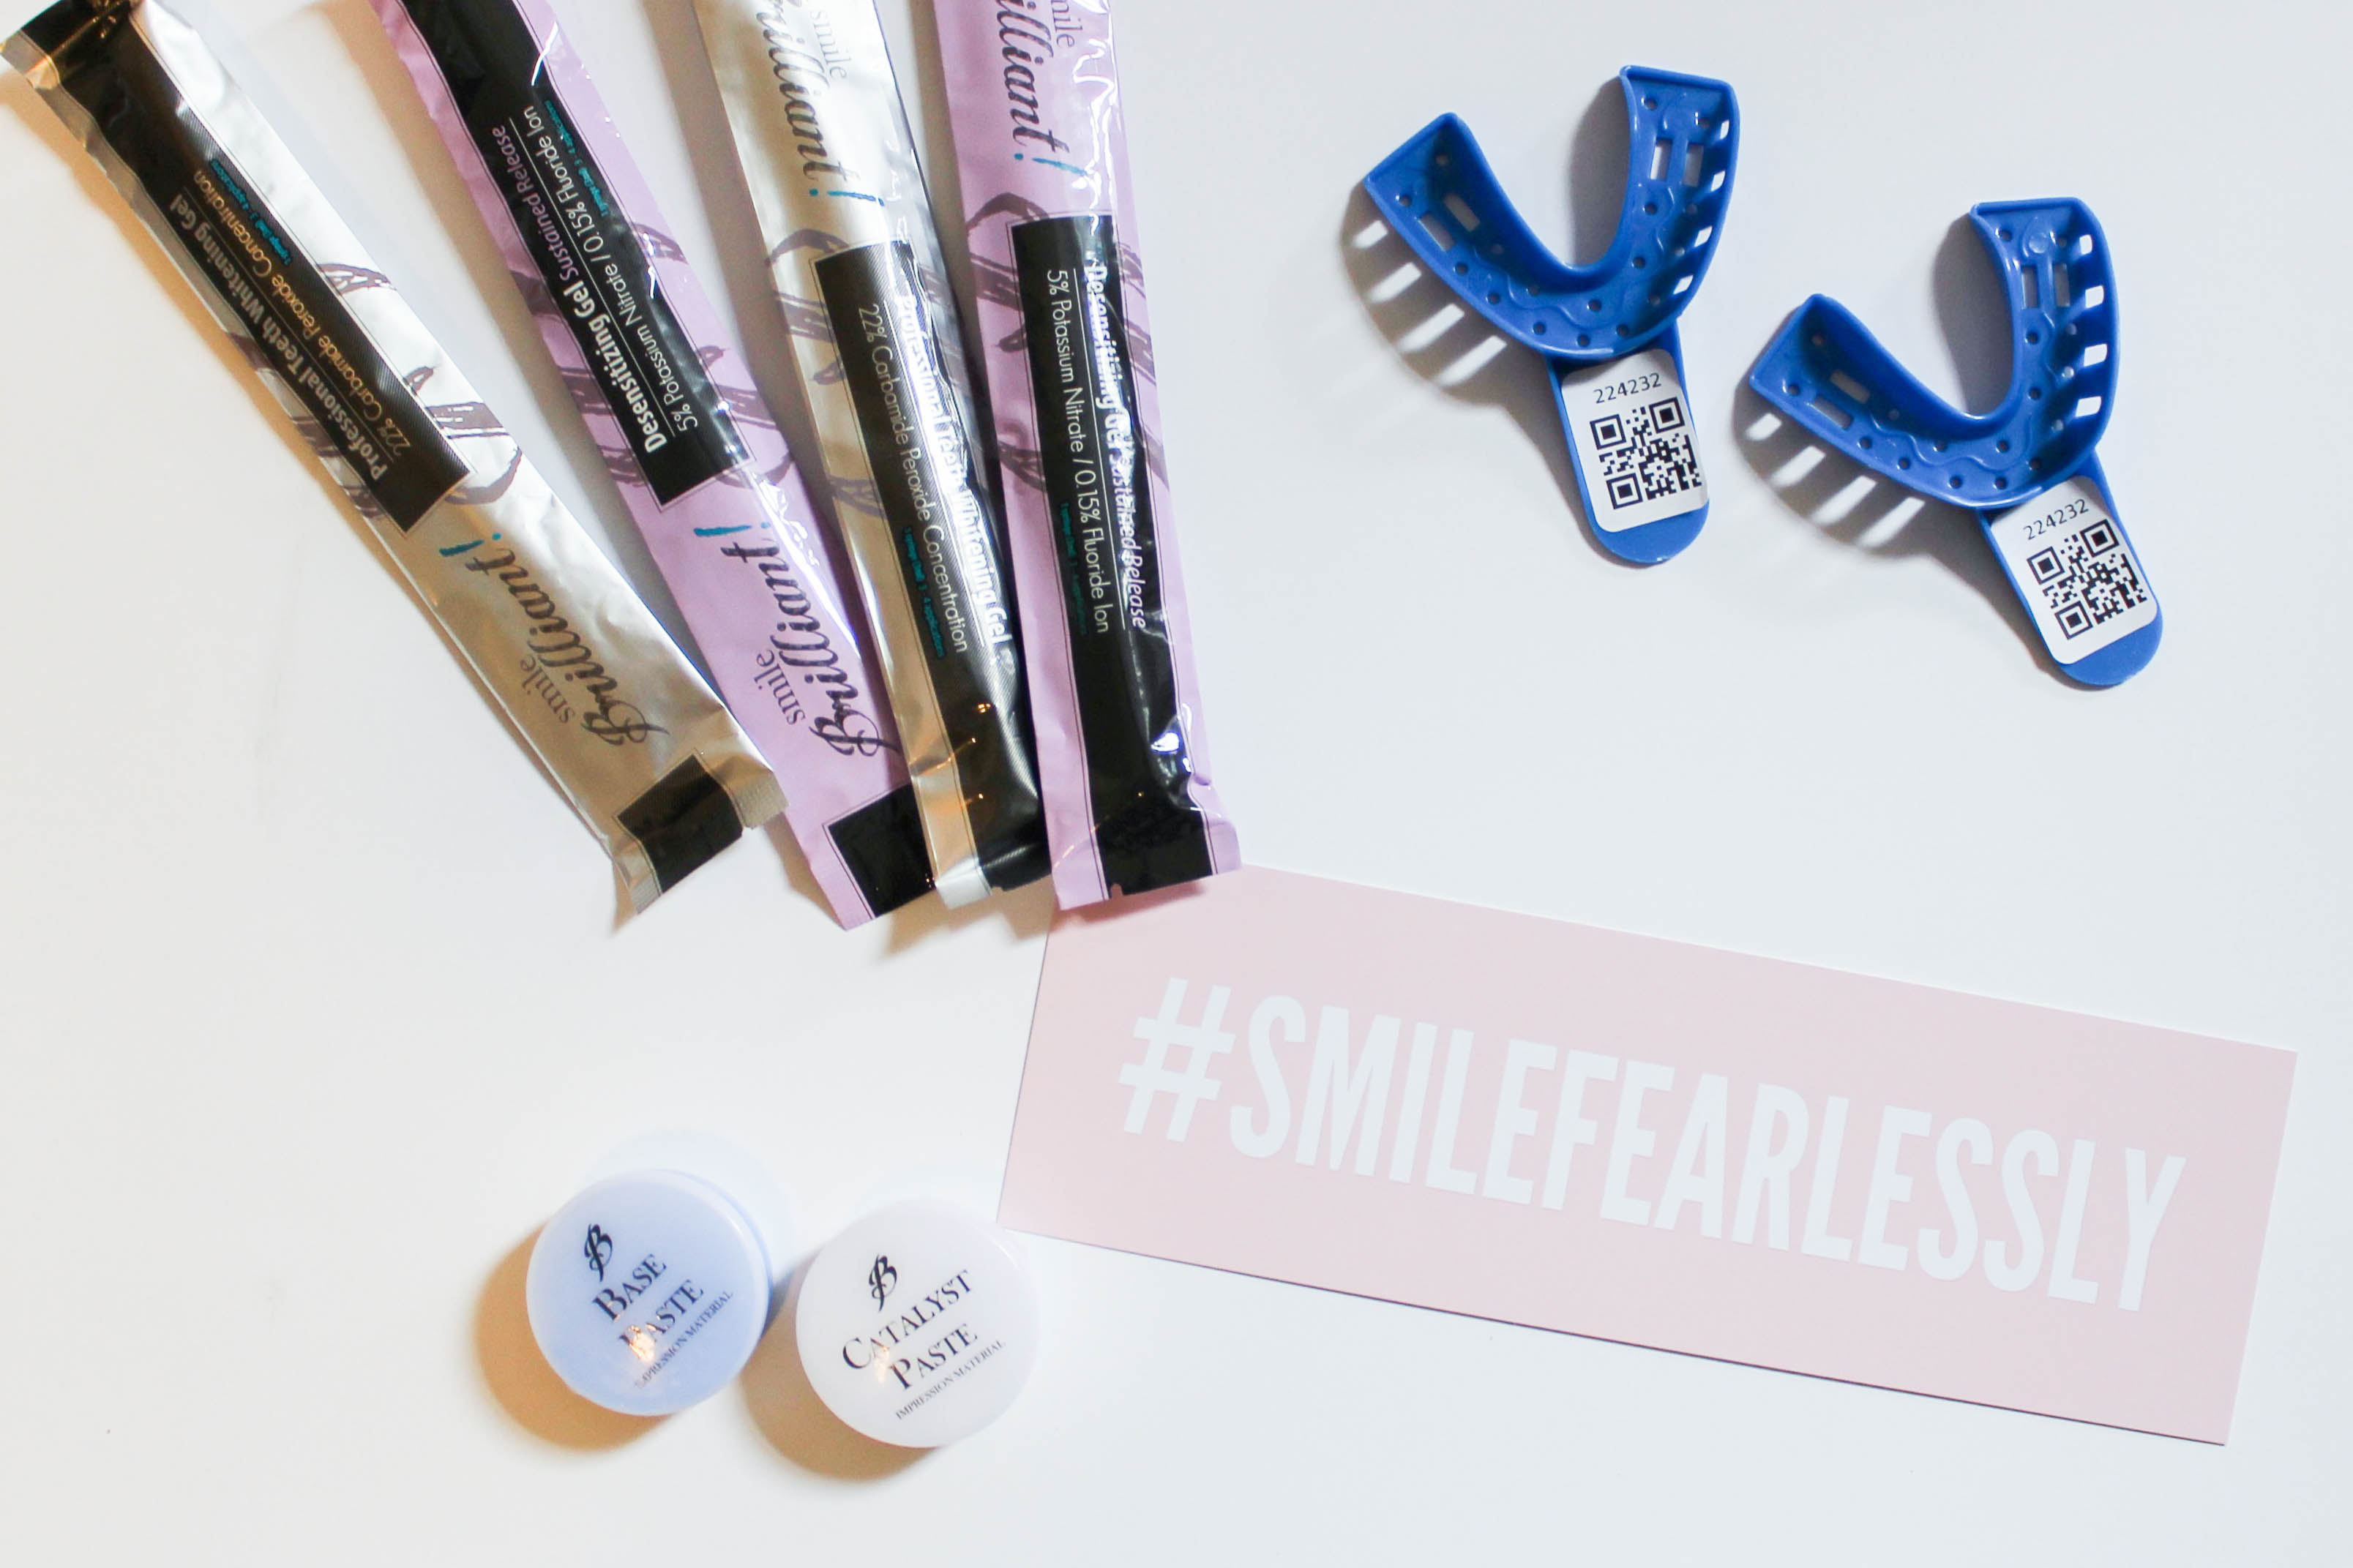
- Blend the blue and white puddies together until they’re a light blue color and you fill the blue mold tray
- Make top and bottom teeth molds (they give you an extra just in case you mess up, like I did!)
- Mail in your molds
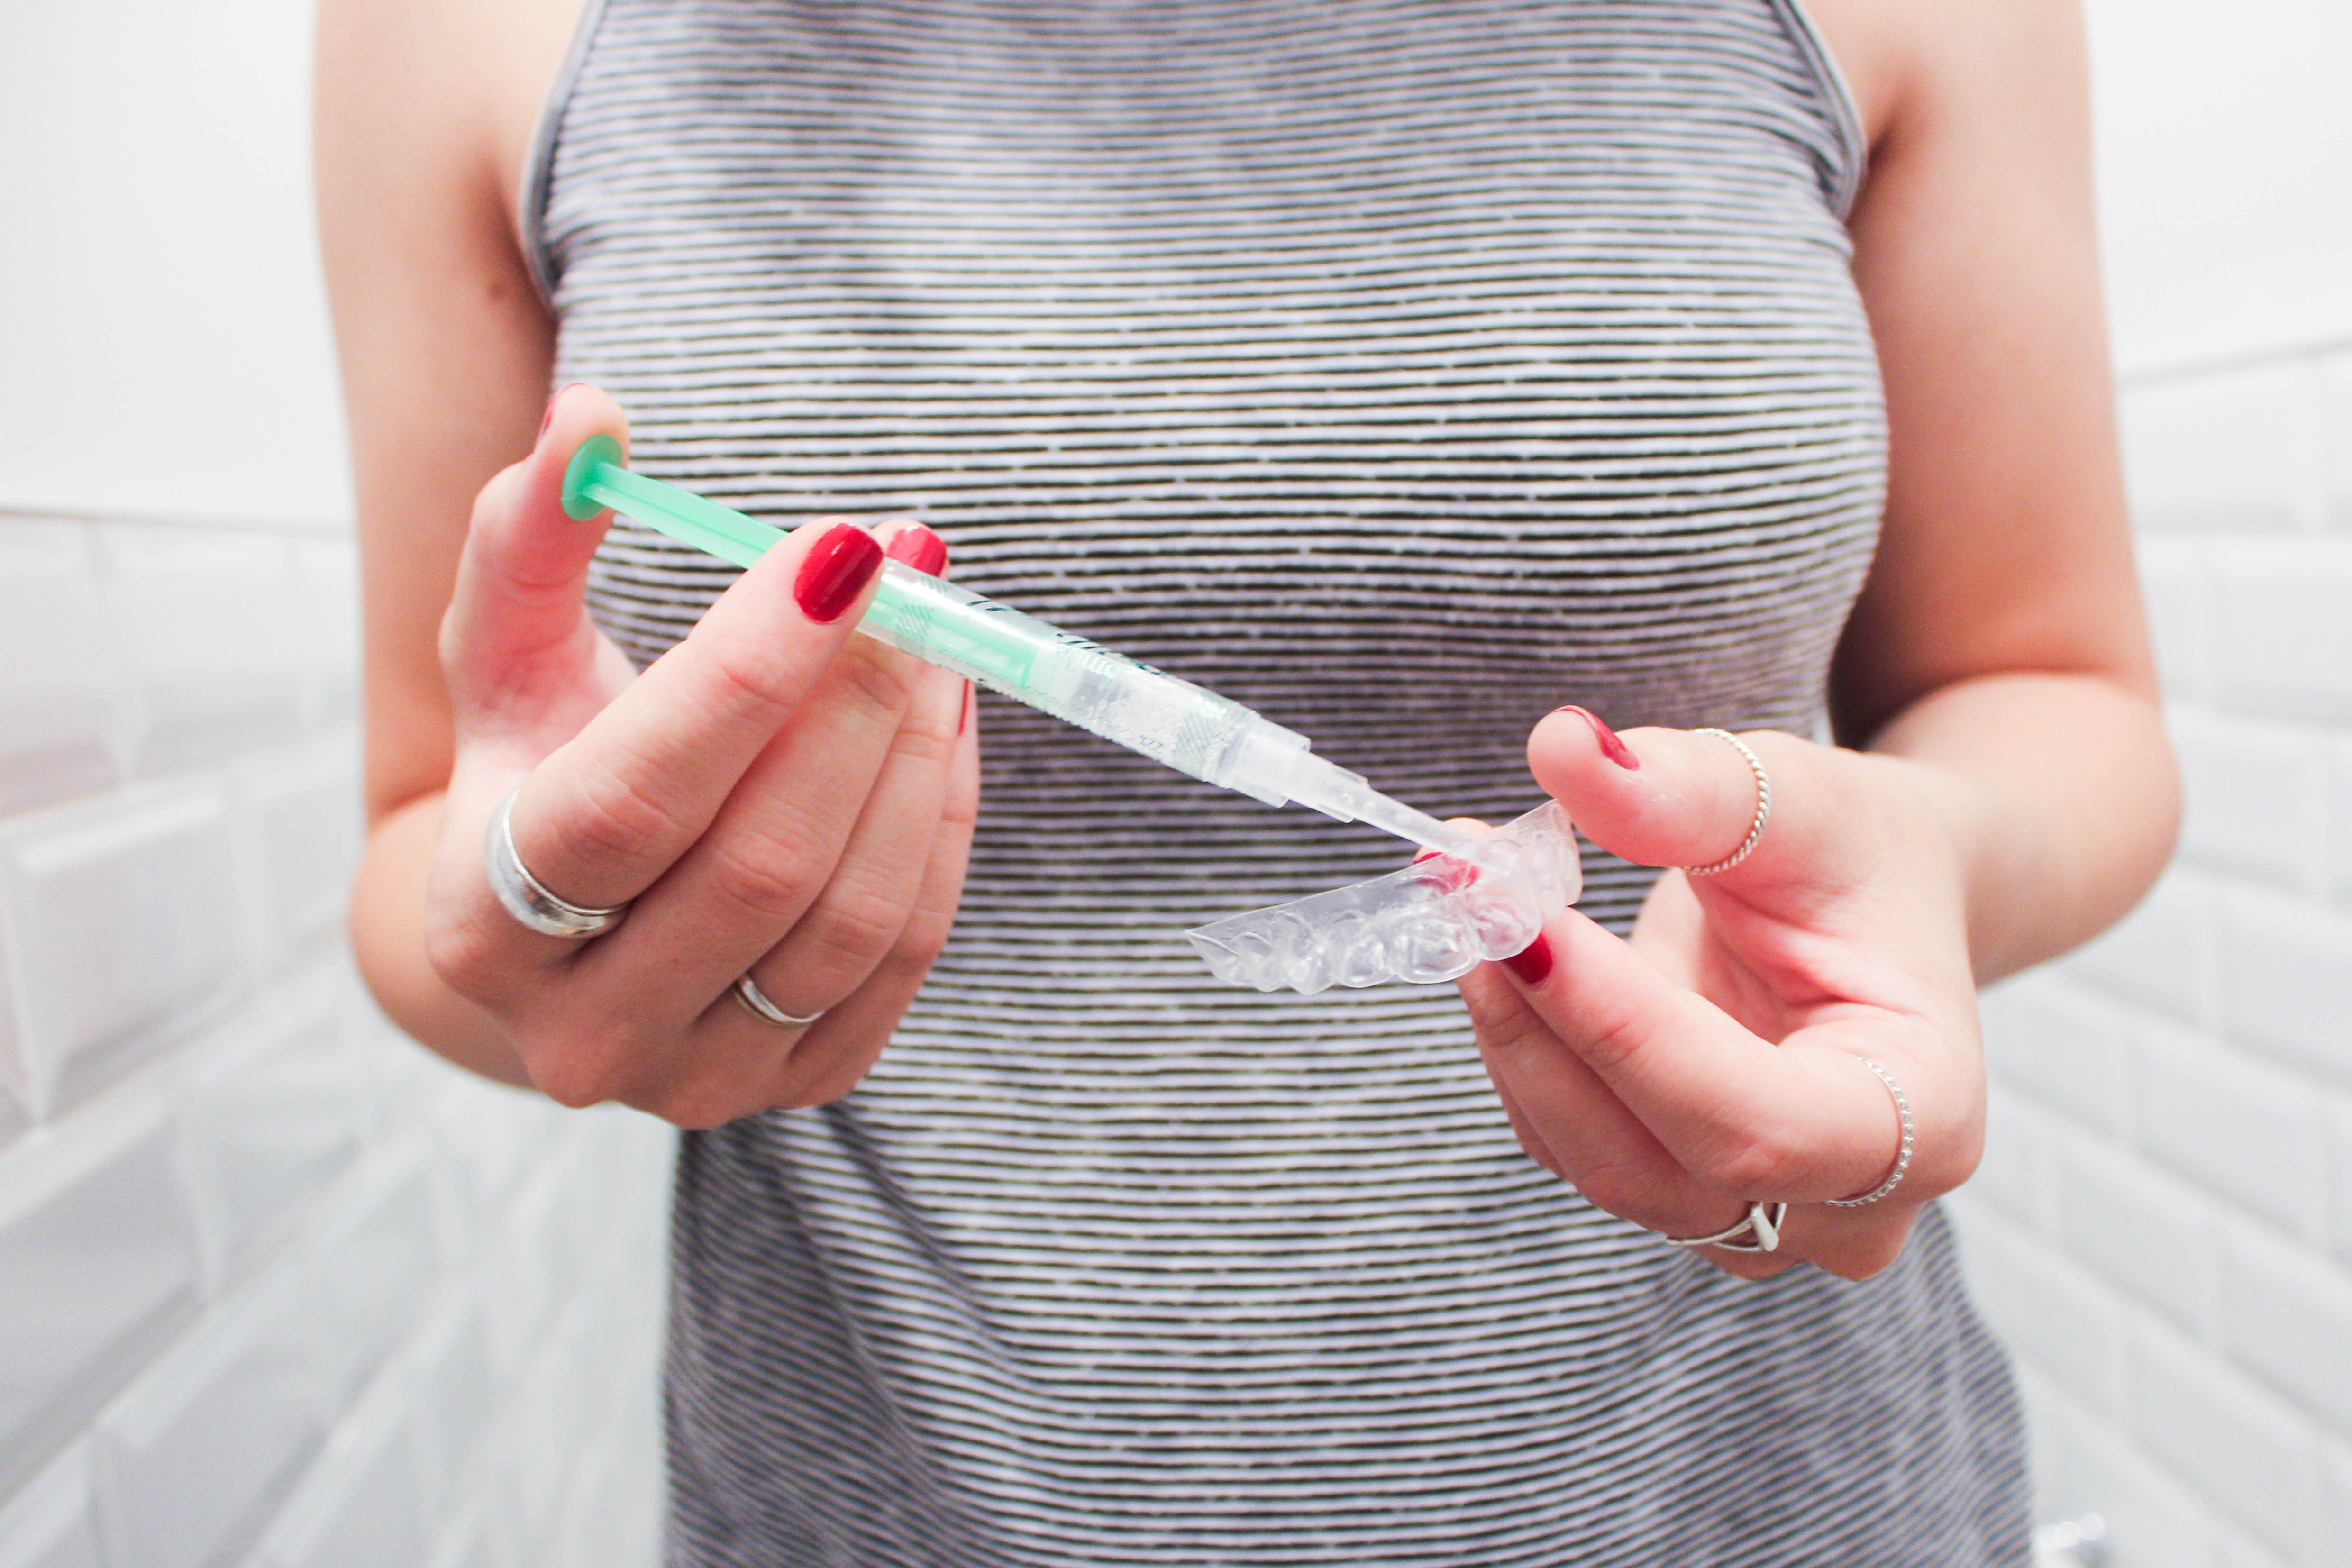
- Once you receive your clear trays in the mail, you fill with a whitening gel and leave it on between 15-60 minutes
- Rinse, and do desensitizing gel for 15 minutes
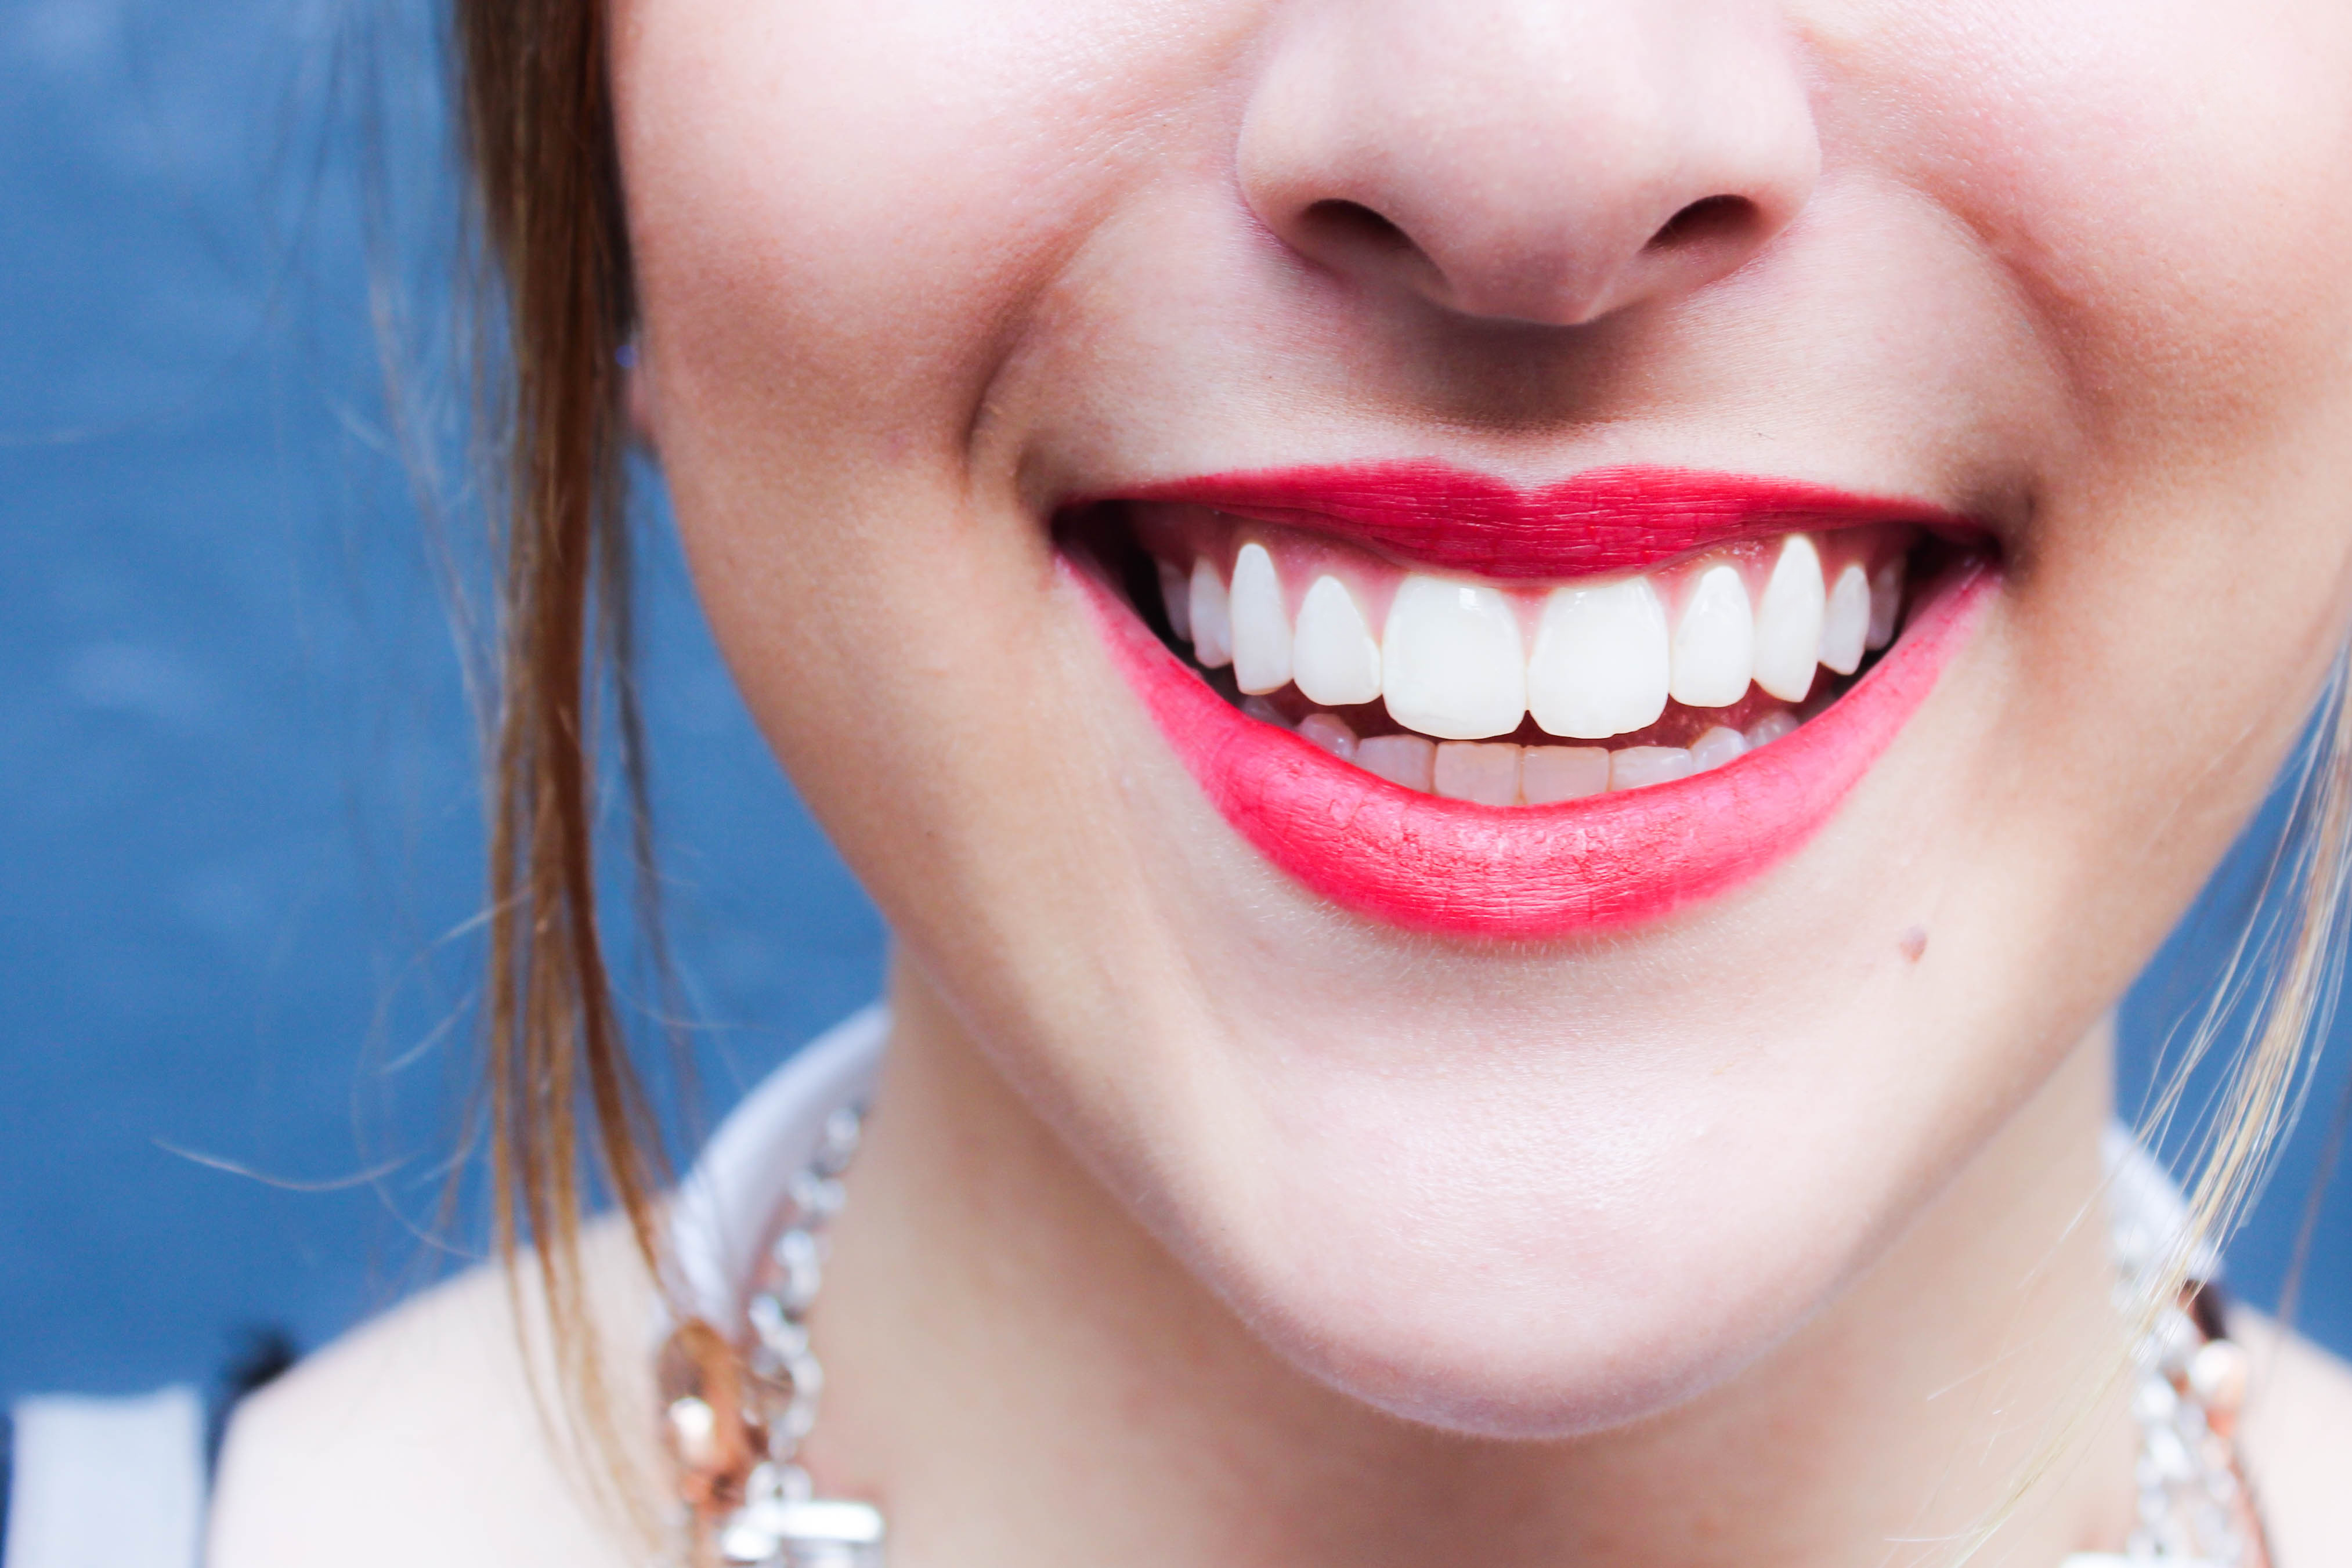
- Smile!
I did my whitening sessions for about 20 minutes because I could feel the intensity of the gel and knew it was already working. I definitely feel like this entire process was more effective than any whitening strip, toothpaste or mouthwash has ever worked, and it’s a fraction of the cost of going into the dentist! I am excited to upkeep this process and continue using Smile Brilliant. It really works guys! You can read more reviews/testimonials here!
Also I’m hosting a giveaway for one lucky reader at the end of the blog post. The prize is a $139.95 store credit which is equal to the Teeth Whitening Trays + 3 whitening gel syringes and 3 desensitizing gel syringes, or the Teeth Whitening Trays + 6 whitening gel syringes. Make sure to enter!


I also watched some awesome YouTube tutorials beforehand, and I think they perfectly captured the process too! Here is my favorite from Danielle Mansutti:
[youtube https://www.youtube.com/watch?v=aOBB-n6HLAs]Last, but certainly not least, enter to win! Click HERE!