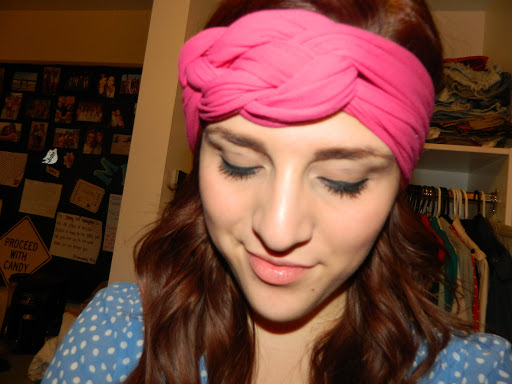
Last week I presented to a new club at ASU called Sun Devils wear Prada and it was so much fun! I was asked to do a DIY craft for the members and I chose to do turban headbands. All you need is an old t-shirt, a pair or scissors, and hot glue.
Twist Turban
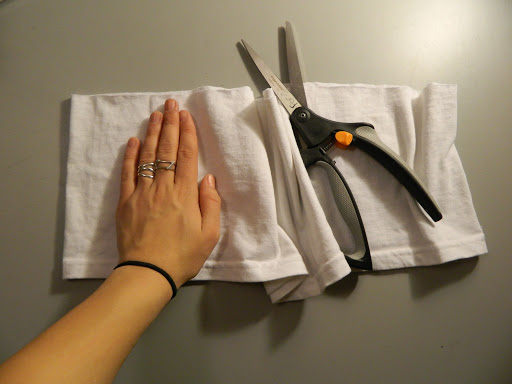
1. Cut the bottom half of the shirt off (under the armpits). Cut in fourths!
> OR cut the length of you hand and then cut in 1/2
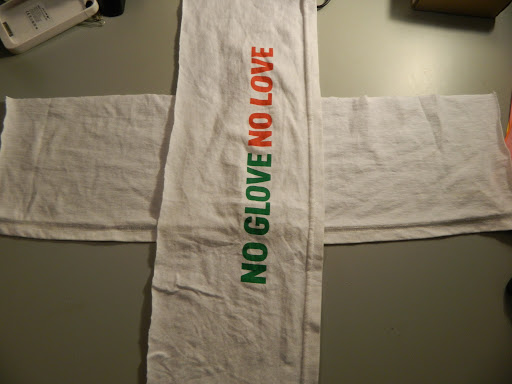
2. Place two strips in a perpendicular fashion
3. Grab two ends and glue together; do the same to the other side
4. Take the two sides and glue together
5. Take an extra strip of fabric (ie: neckline, finished cuff of the sleeve) and wrap around the back side to cover the glue and hold together for extra support
* You can also do this for bandeau tops. Just cut the shirt vertical (cut off sleeves and neckline and cut in fourths and follow the same fashion.

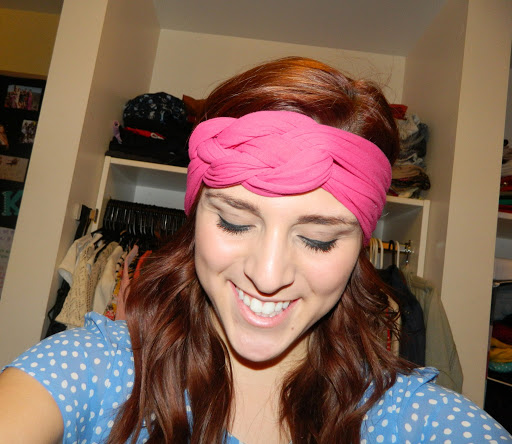
This turban is a bit more difficult but I have looked at several tutorials online and will post their links on here
1. For this you can use the other two strips of fabric you had left over or I had an old pair of tights that I used. Nylon fabric is easy to stretch and easy to work with
2. If you use tights cut off the top part and just use the legs
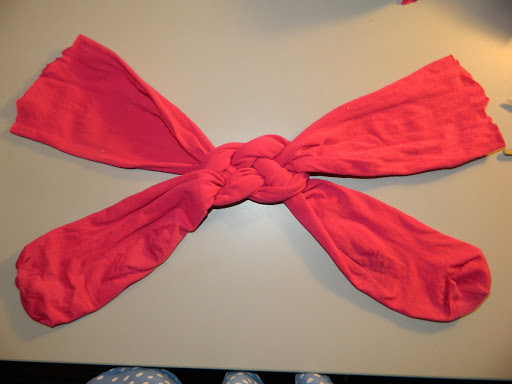
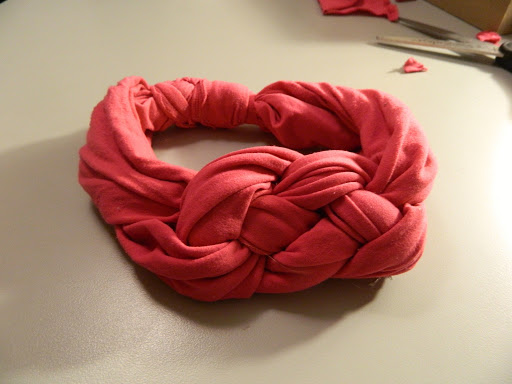
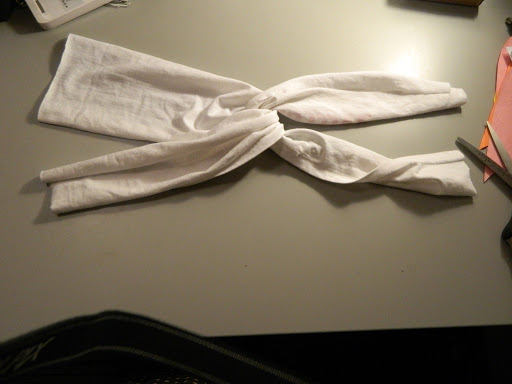
3. Take one strip and make a loop like the ‘Support the Troop Ribbon’ and right over left
4. Use the second strip and make a U-shape with the right side under the bottom right side of the ribbon
5. Now take the left side of the U-shape under the loop of the first strand
6. Take the right strand of the U-shape and thread over the loop, under the left side of the U-shape, and over the other side of the loop
7. Pull the edges out so the knot comes together and tighten
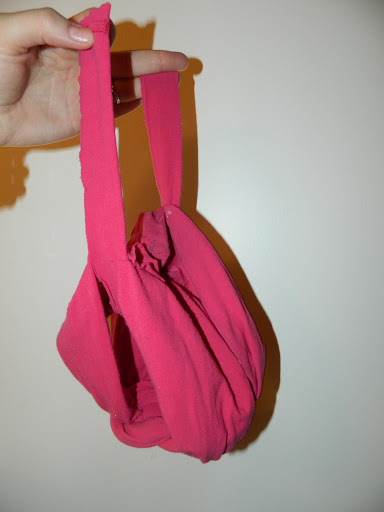
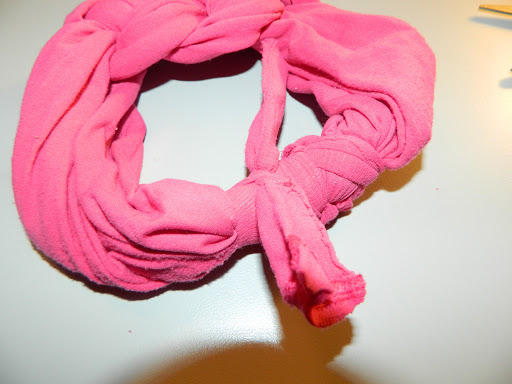
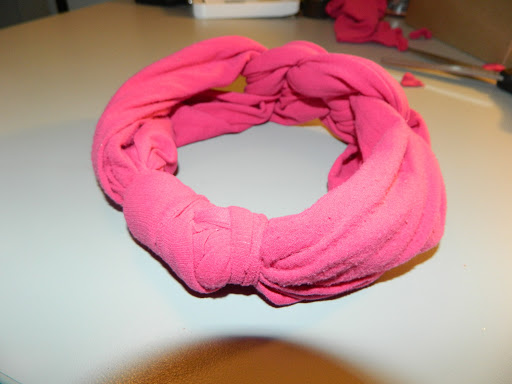
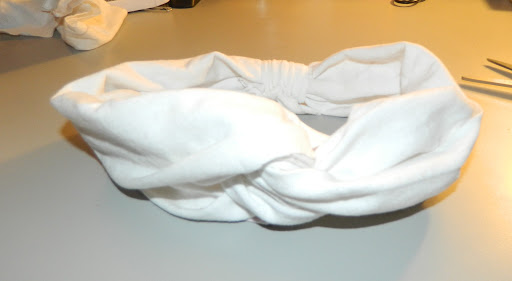
8. Glue together the edges like how you did for the twist turban
9. Cut off the waistband of the tight and use that as your security strip
10. Wrap the waistband and glue in place
Tutorial for steps 3-7
http://pinterest.com/pin/61713457364591841/
http://www.lovestitched.com/my-tutorial/knotted-jersey-headband-tutorial/