Is anyone else feeling a little nostalgic that summer is coming to a close? I’m already kind of sad to say goodbye to the beach, salty hair and sunshine. But, just because summer is ending, it doesn’t mean your beach waves have to. I get a lot of questions from you guys about my hair and how I curl it. I have a few different ways I curl my hair – from wrapping it around the barrel to create the messy beach wave, to curling it regularly away from my face to create soft romantic curls.
I haven’t had the opportunity to really dive into my hair curling routine on the blog yet, so I wanted to kick off the fall season with a new type of hair tutorial – how to create the perfect messy waves for fall! Messy waves were all over the F/W 17 runway and it’s the perfect transition to take your summer beach waves into the cooler season.
I’ve been seeing the The Beachwaver all over social media the past couple of years; it has been the curling iron used in the Victoria Secret Fashion Show and I’ve been very curious to see how it really worked. I have been using the same salon brand curling iron for over 10 years – just updating the barrel every few years, but I wanted to try something new this season. I typically use a 3/4 inch barrel because I have really thick hair so it naturally falls throughout the day and goes from a fairly tight curl to a soft romantic wave. When I was picking out my Beachwaver, I wanted to try a larger, 1 inch barrel since my hair is now longer and can hold a larger curl; so I ended up choosing the Beachwaver S1!
Keep scrolling to see how I curled my hair with The Beachwaver!

First and foremost, The Beachwaver is a rotating curling iron! You clip your hair in and hit a button to rotate your hair towards or away from your face. It is seriously so little effort it’s crazy. I typically split my hair into 3 sections and curl my hair away from my face. I always leave about an inch or so of hair outside of the clip so my hair looks more naturally wavy versus defined ringlets. I take about 1 to 1.5 inch sections of hair to curl in the bottom two sections and then take slightly smaller pieces on the top layer and bangs. The waves look best with different size curls, so don’t feel like you have to do everything so precise.
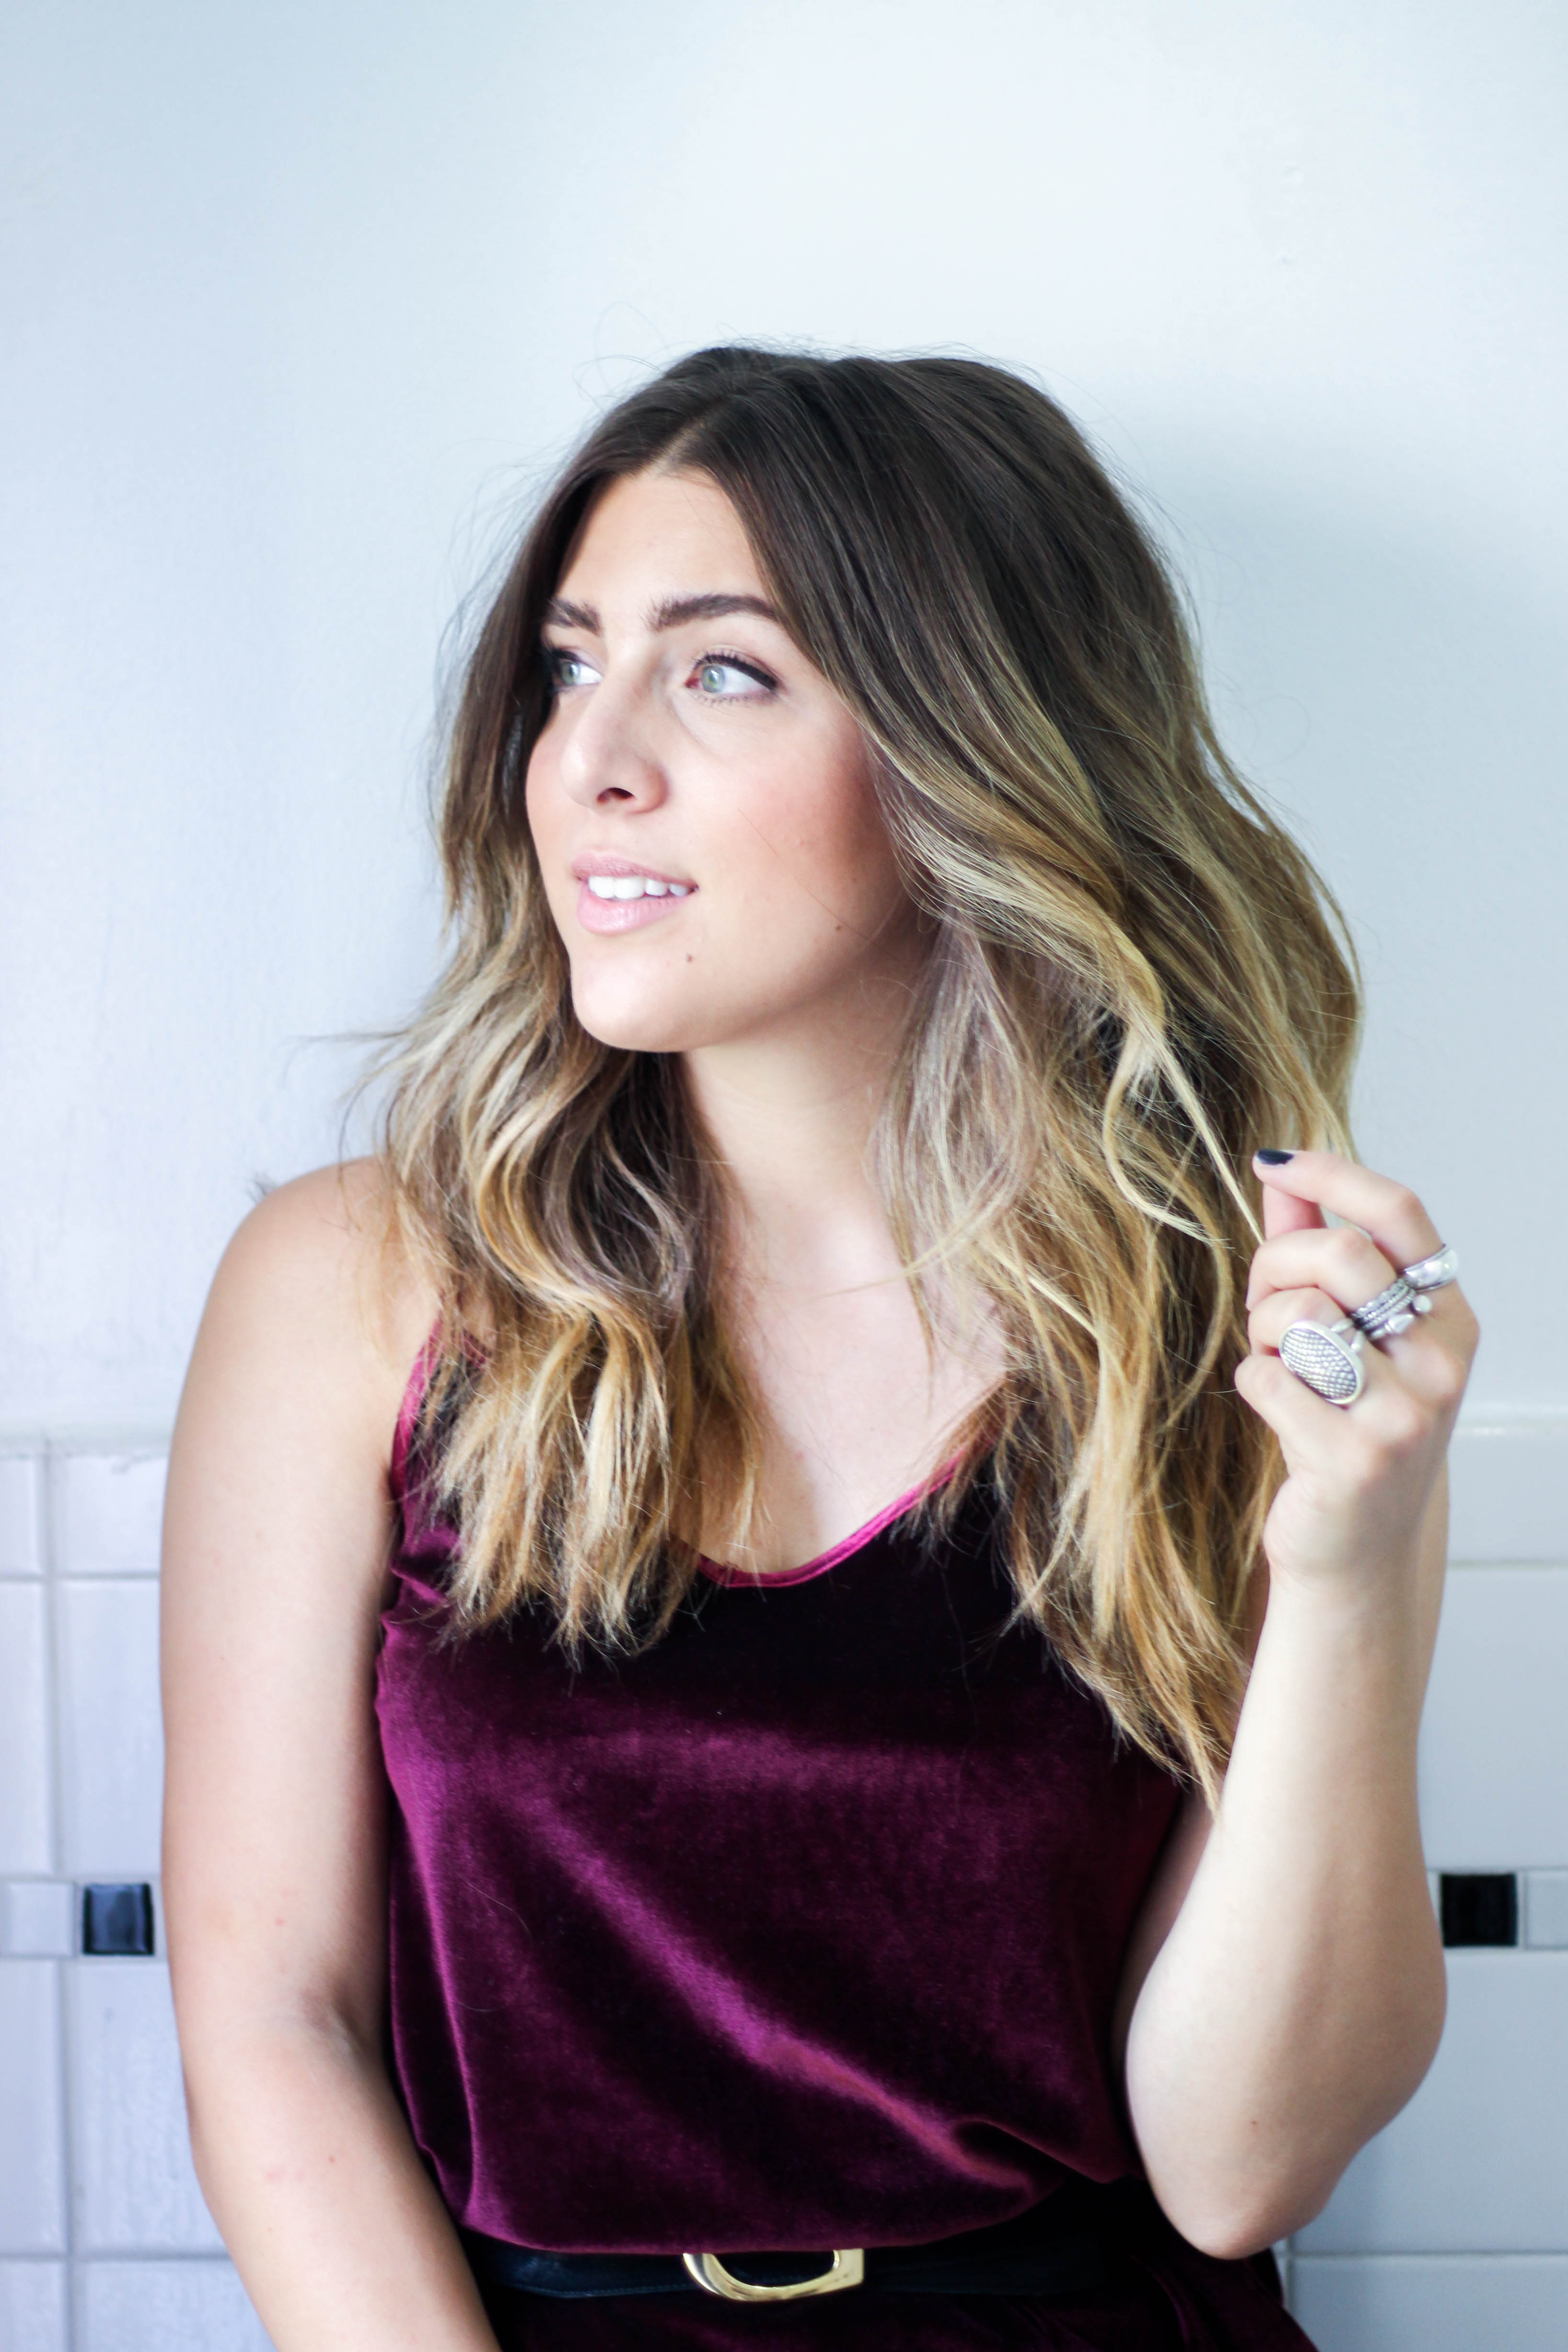
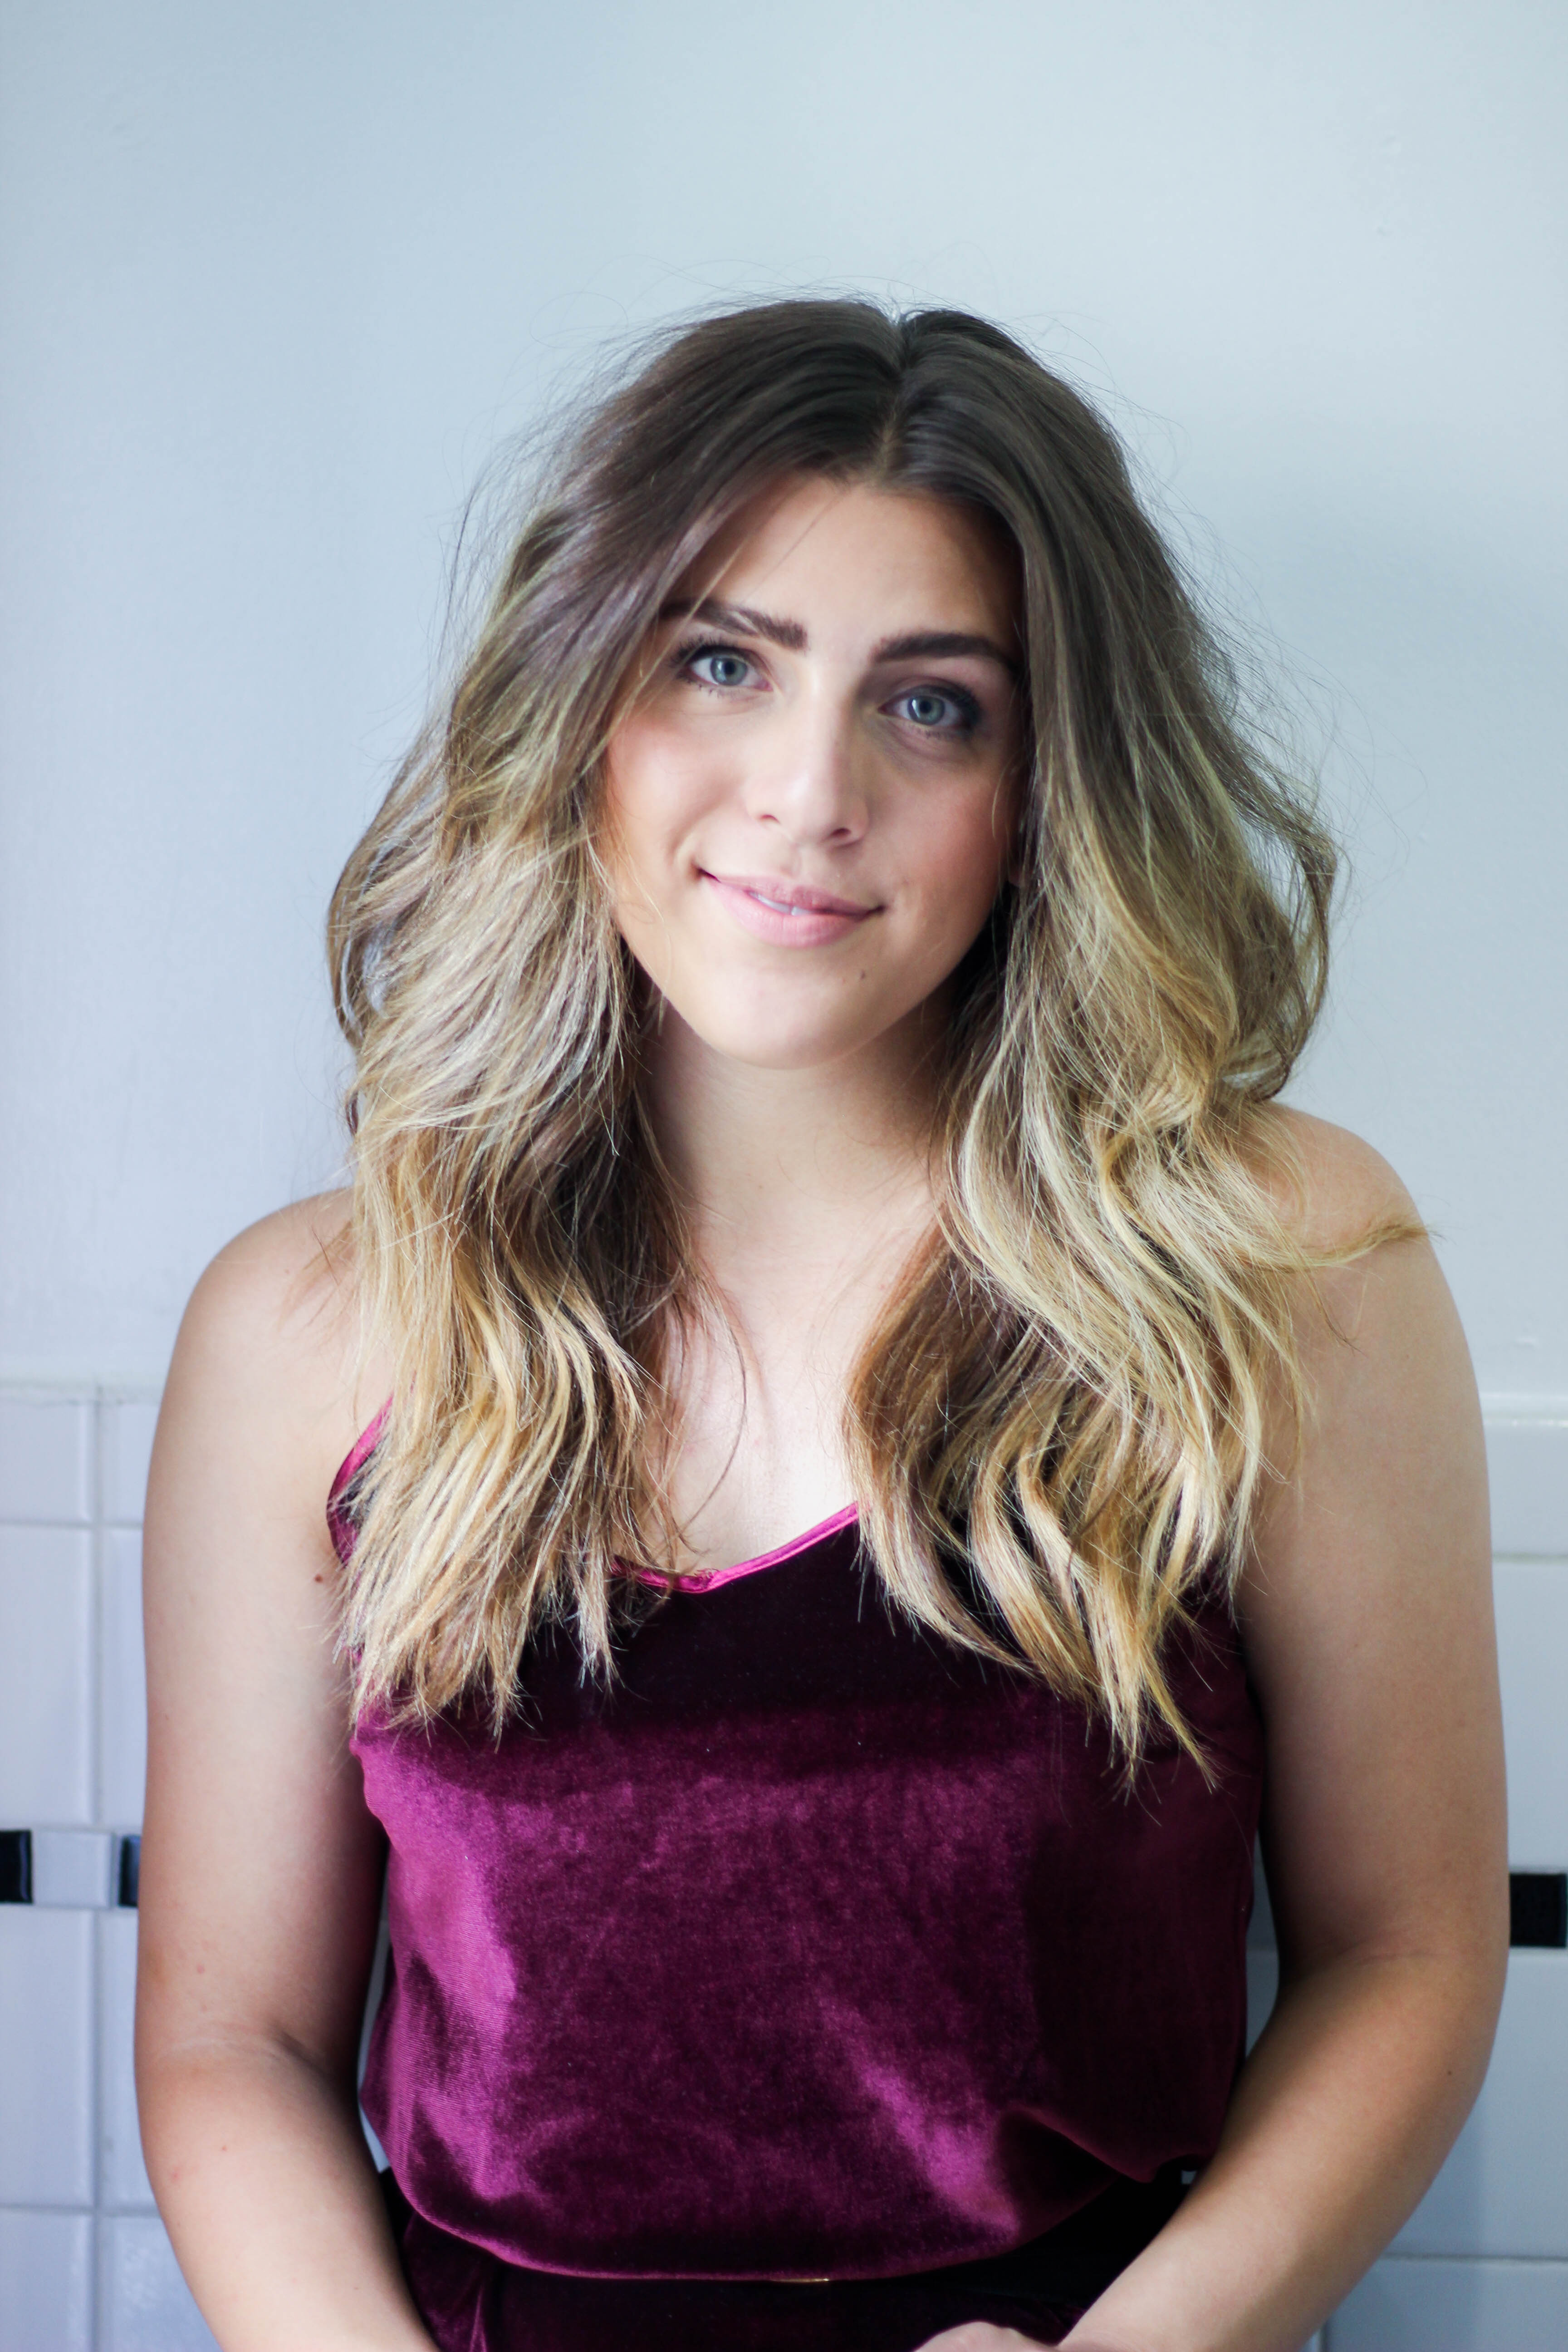
Once you’ve curled your hair, run your fingers through, add product and scrunch, twist the ends and even flip your hair once or twice to create the perfect messy waves for fall. xo
For similar hair tutorials, see my recent posts here:
10 Hair Secrets I Learned from My Hairstylist Mother
5 Tips for Healthy Hair, Skin and Nails
5 Easy Summer Updos

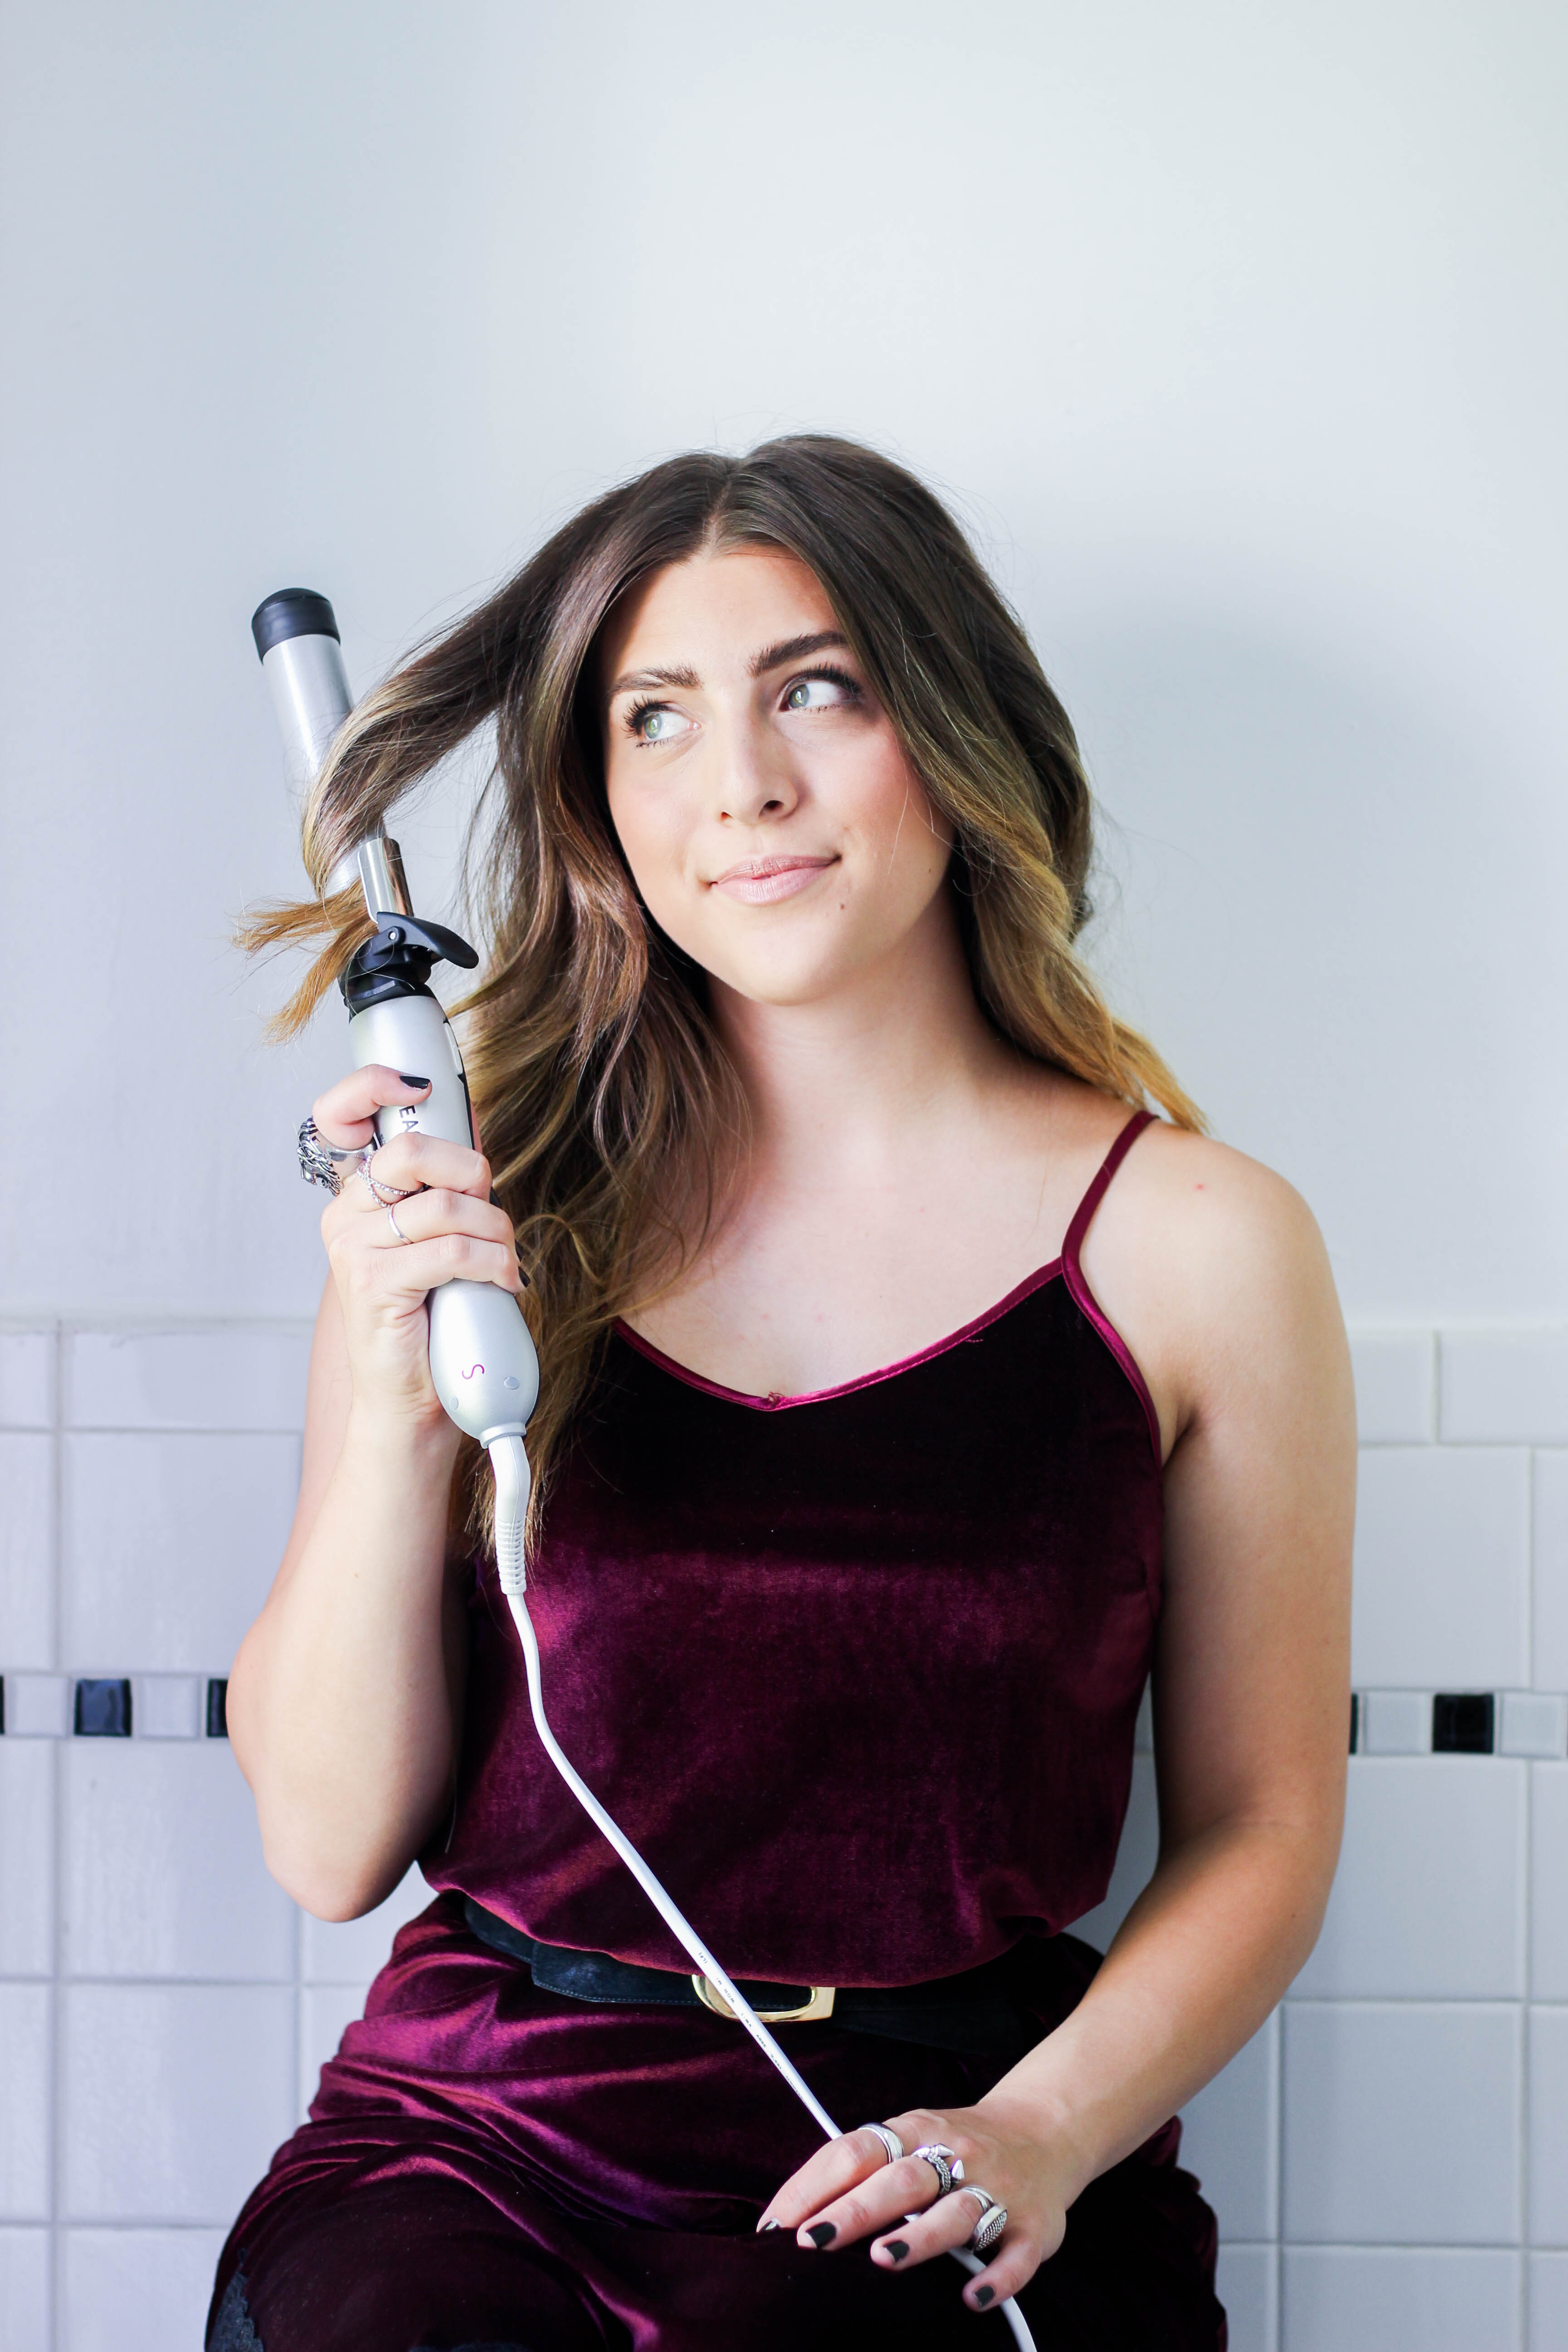

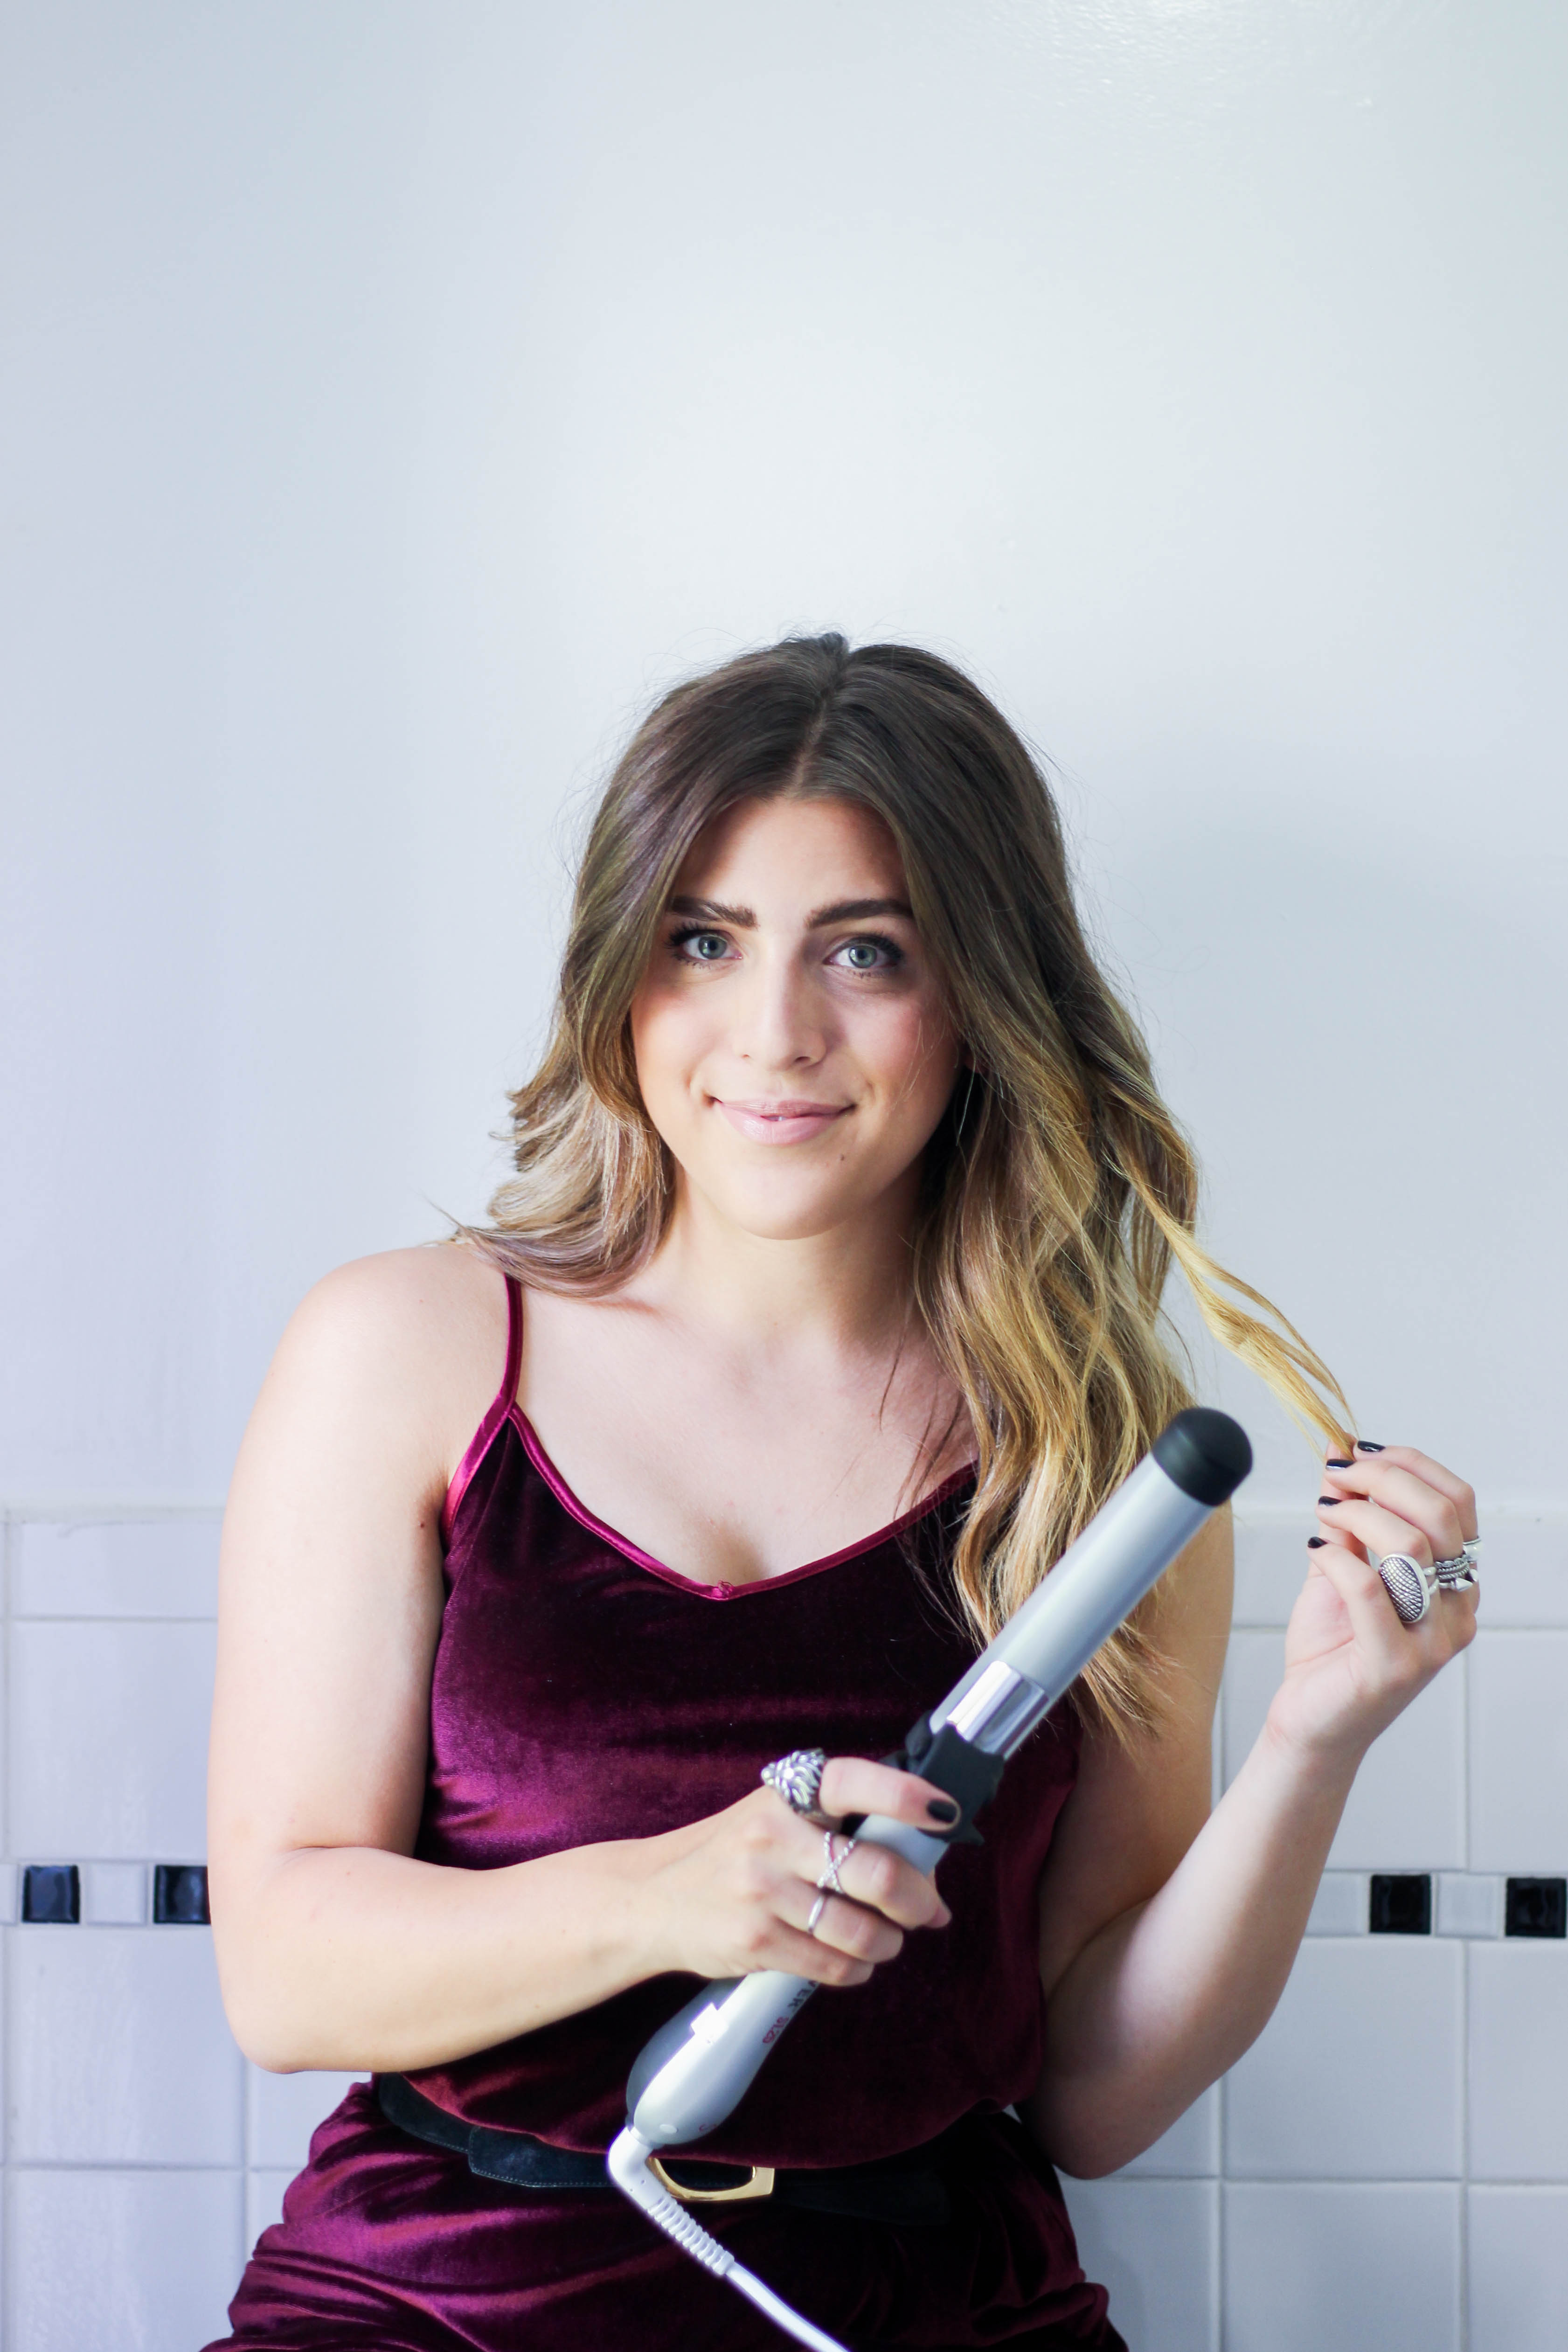


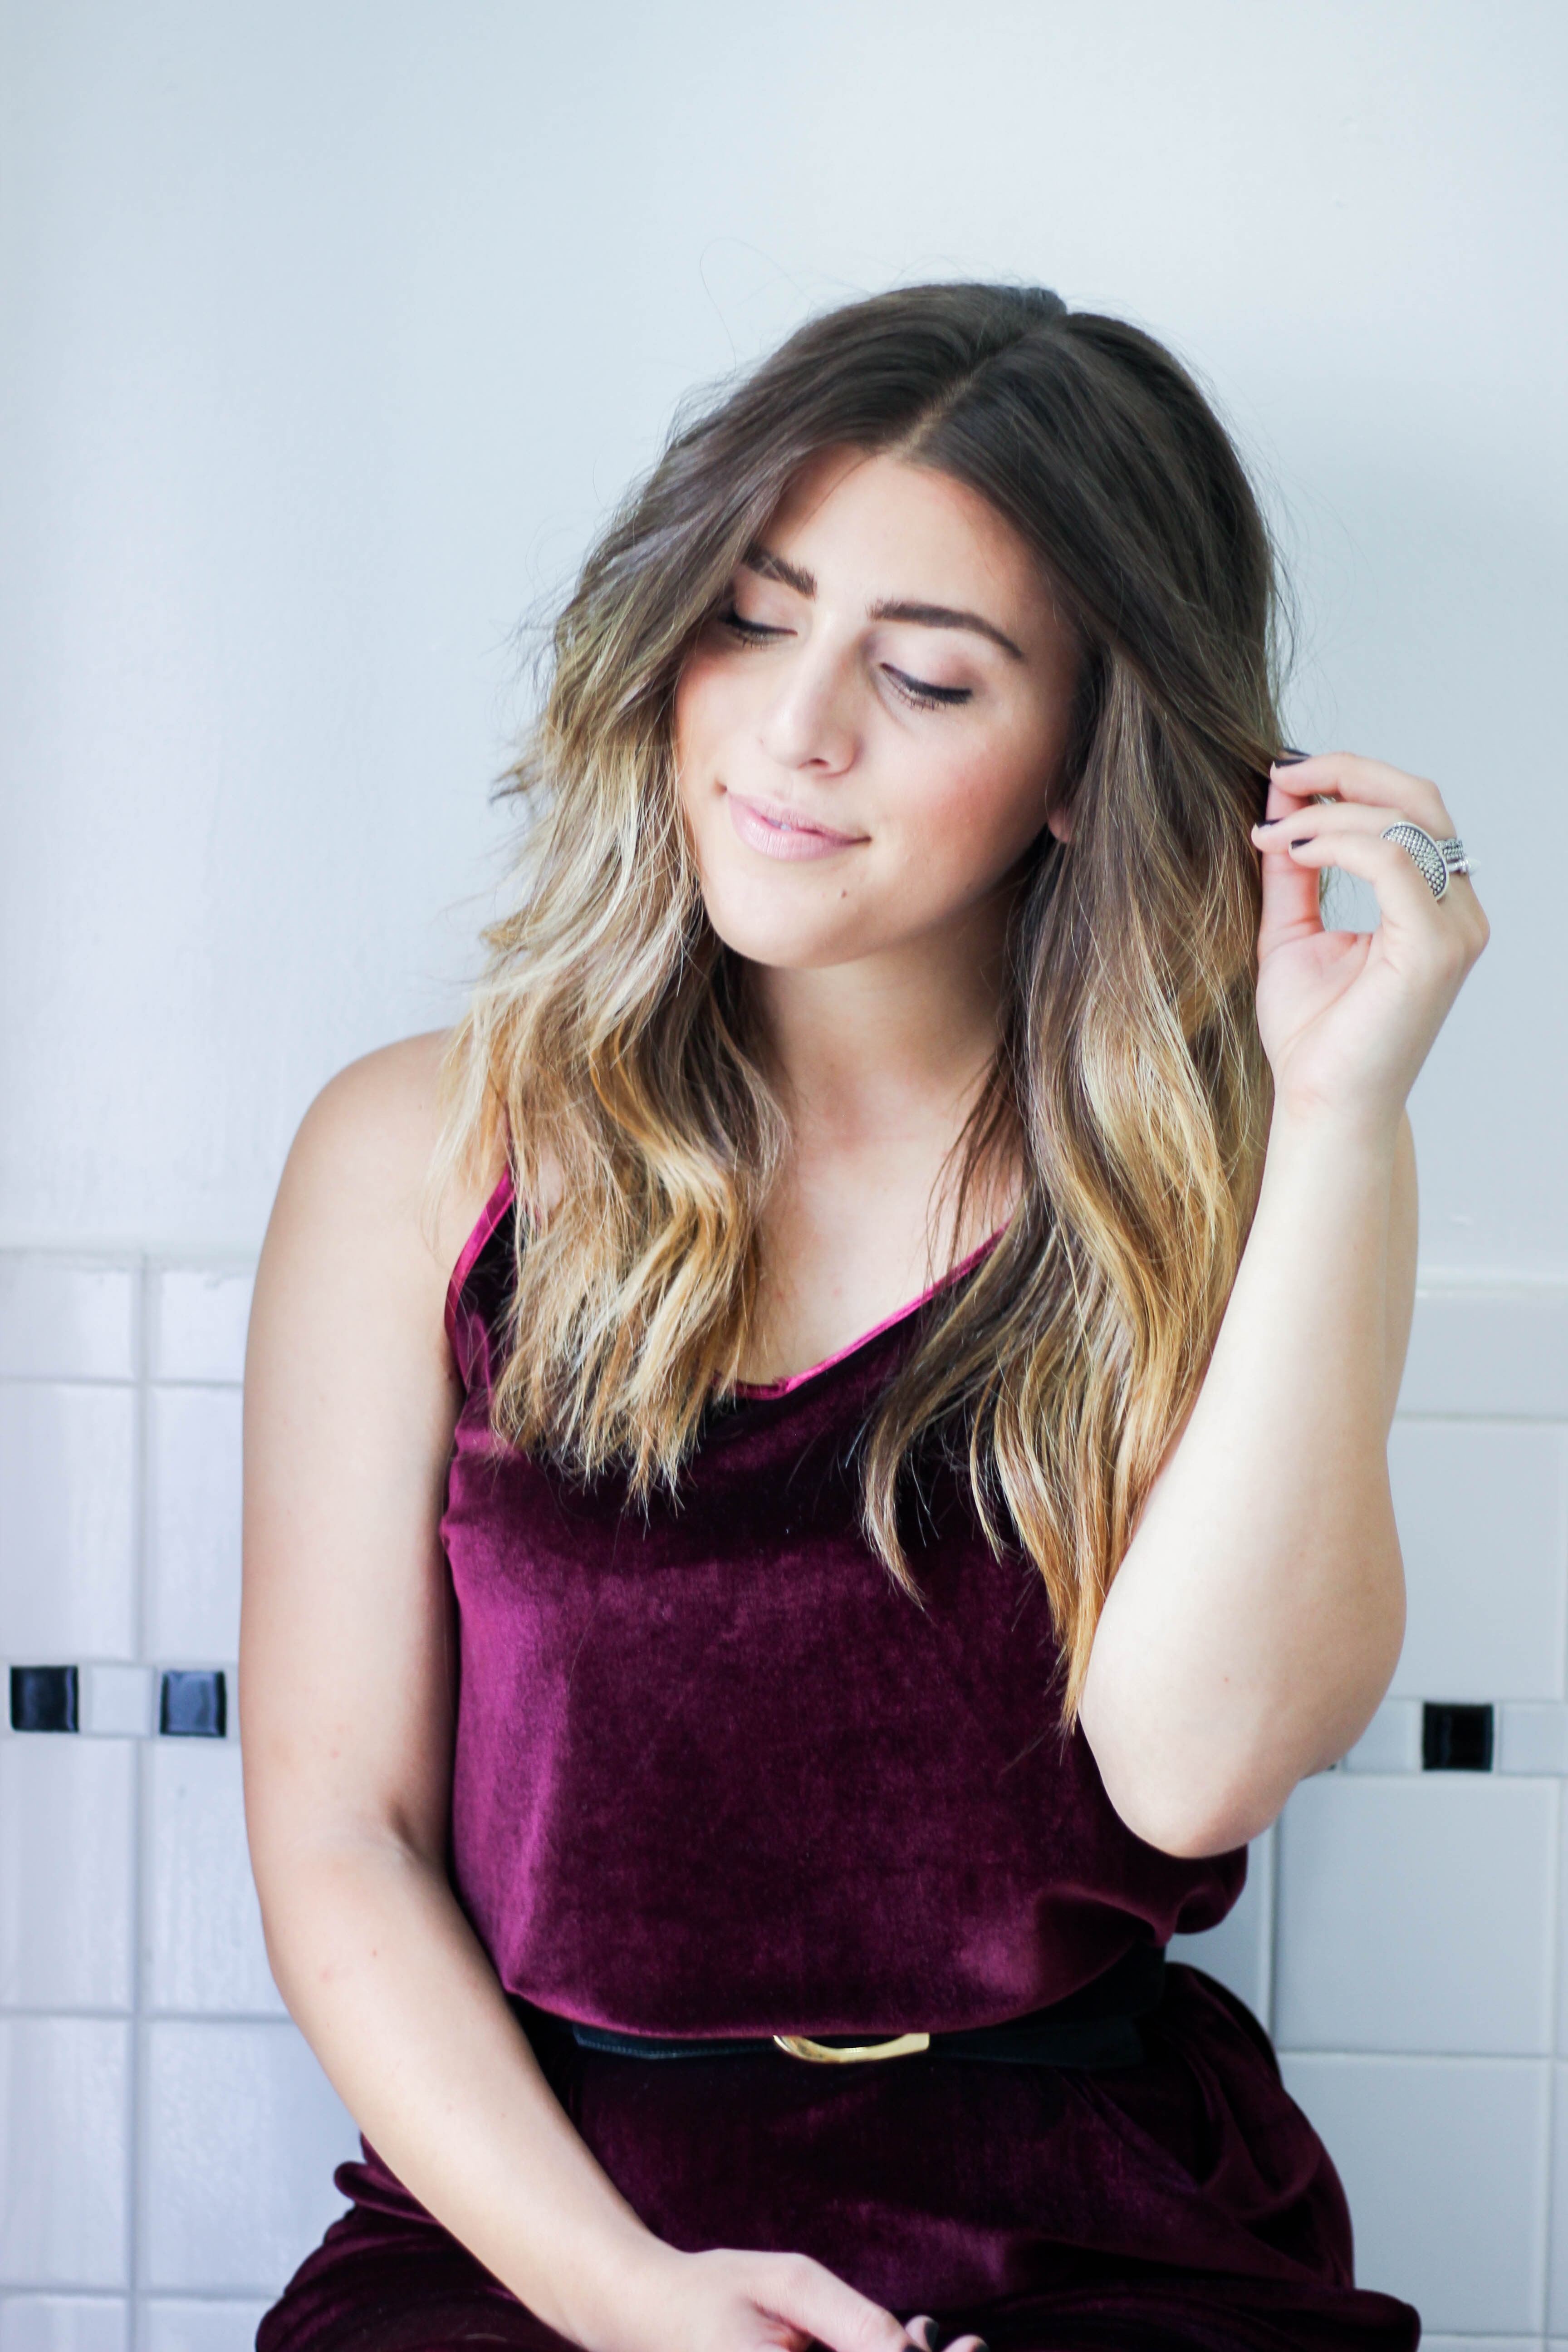
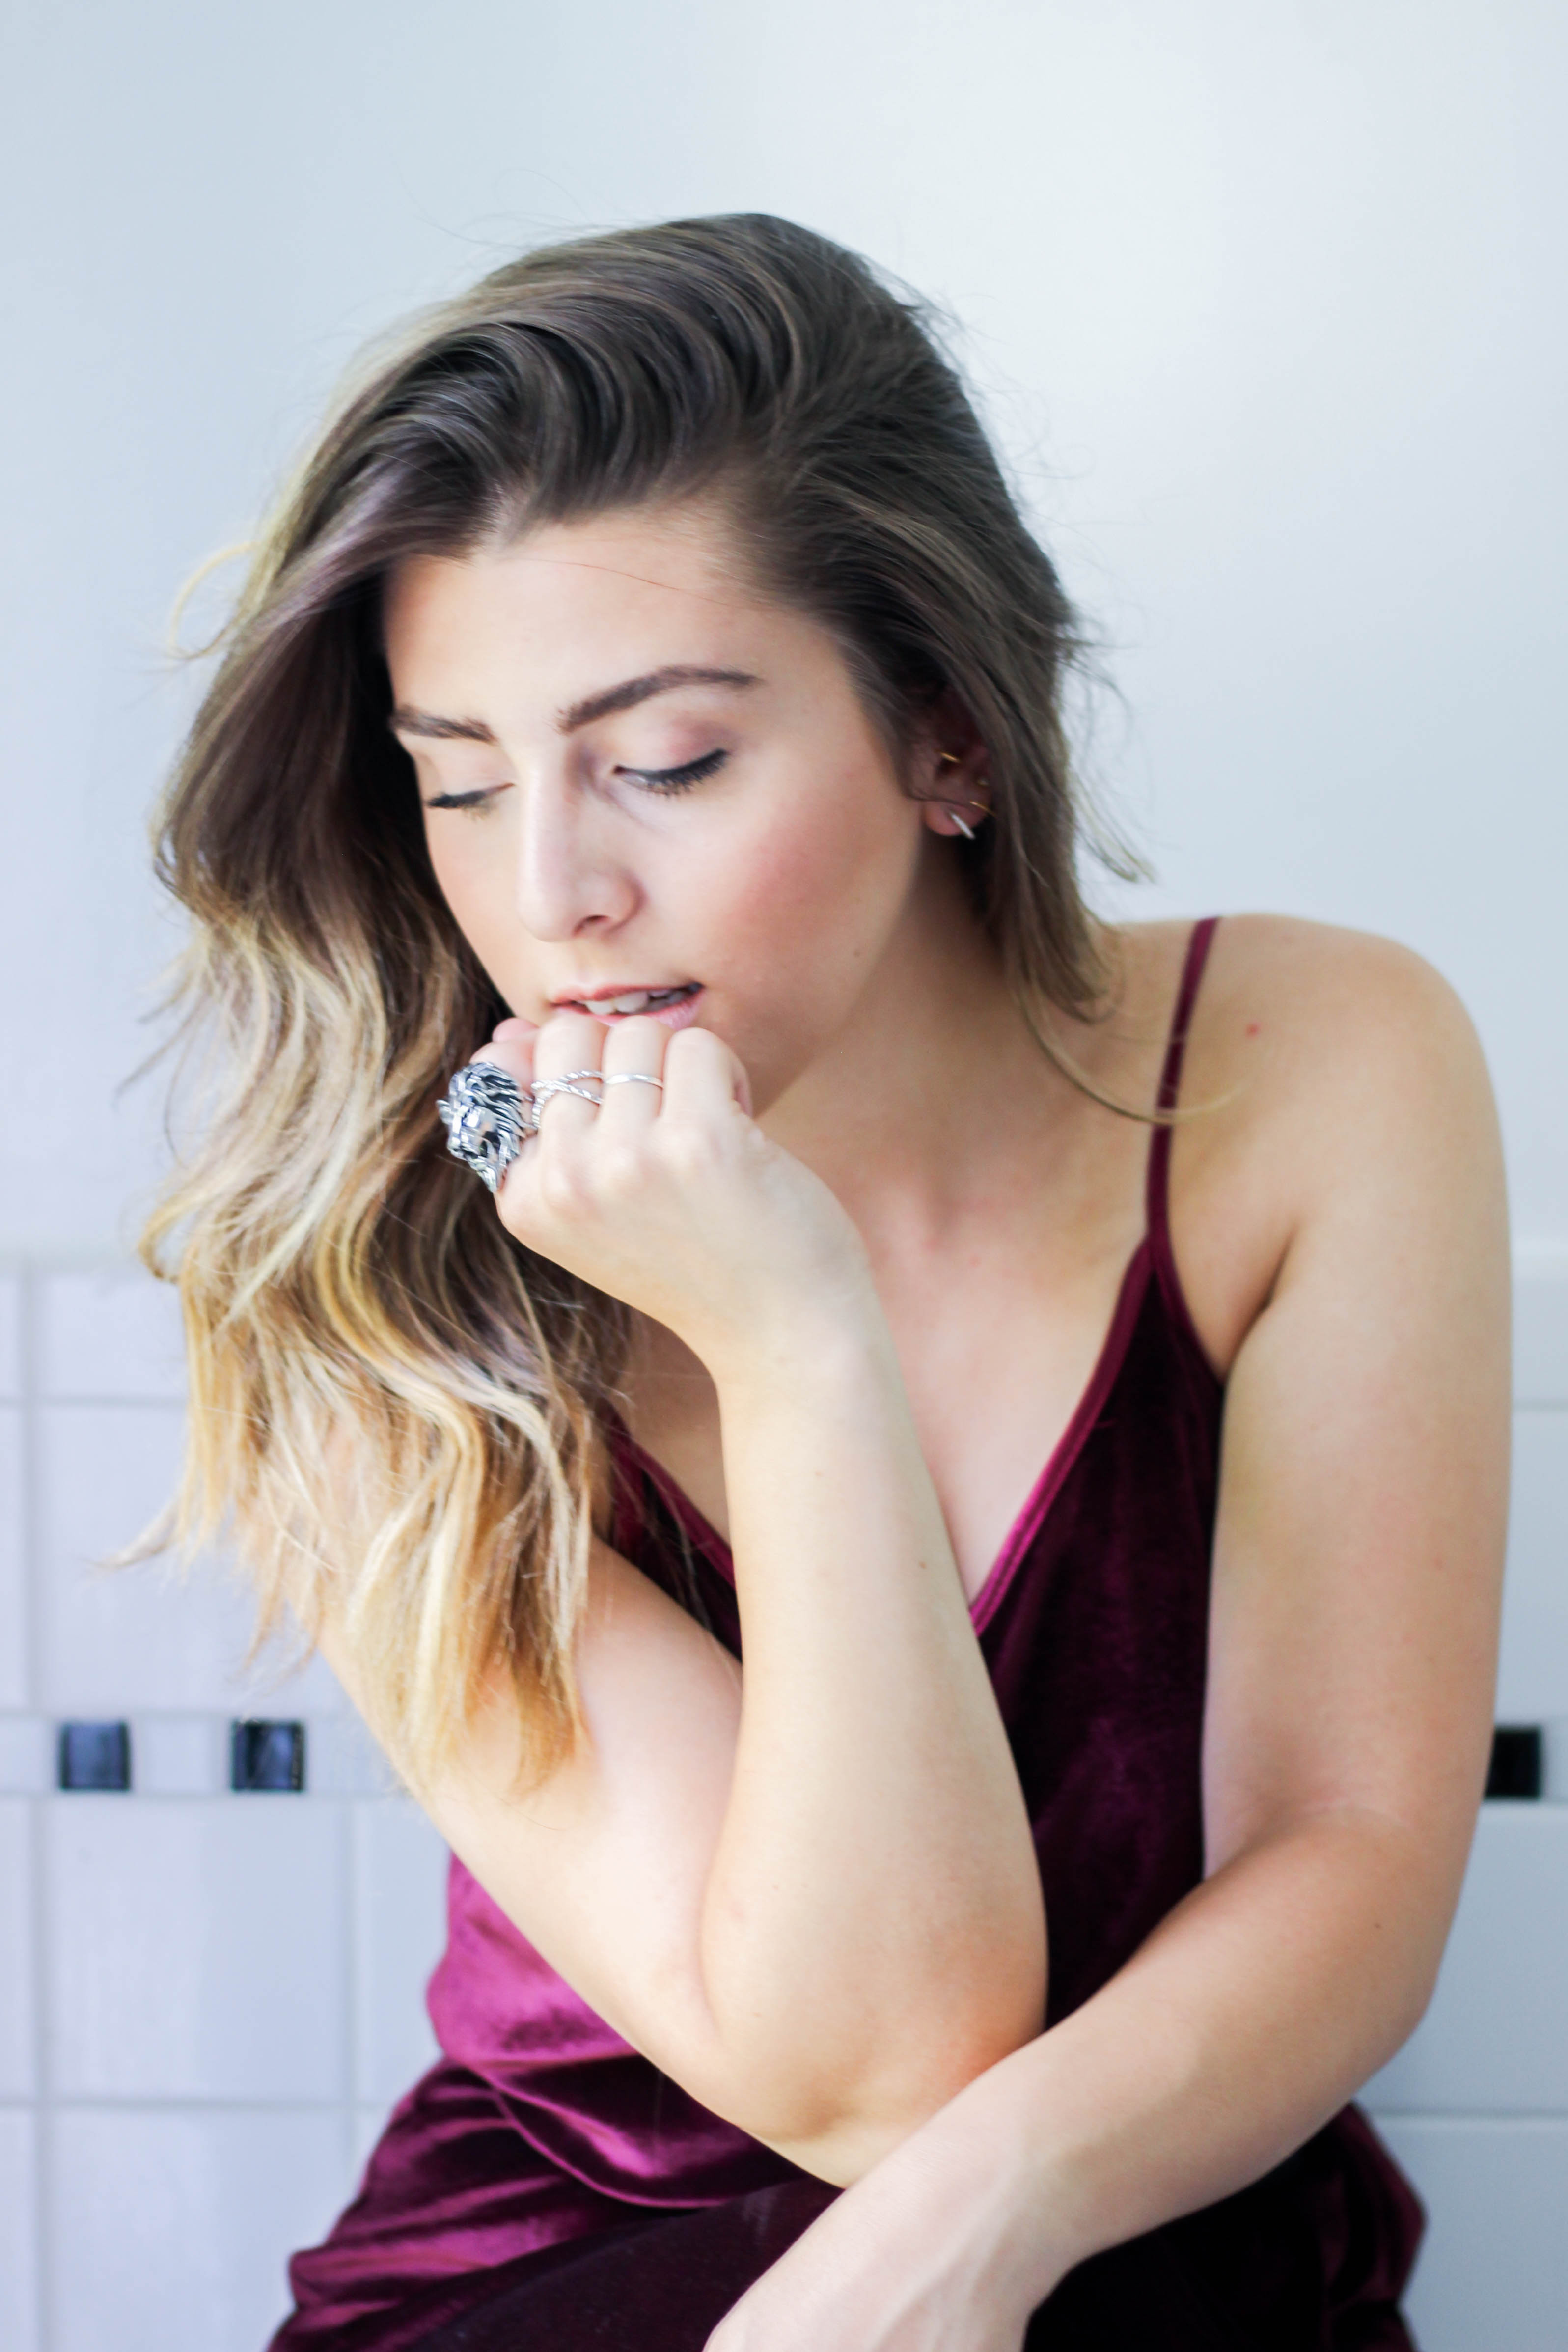
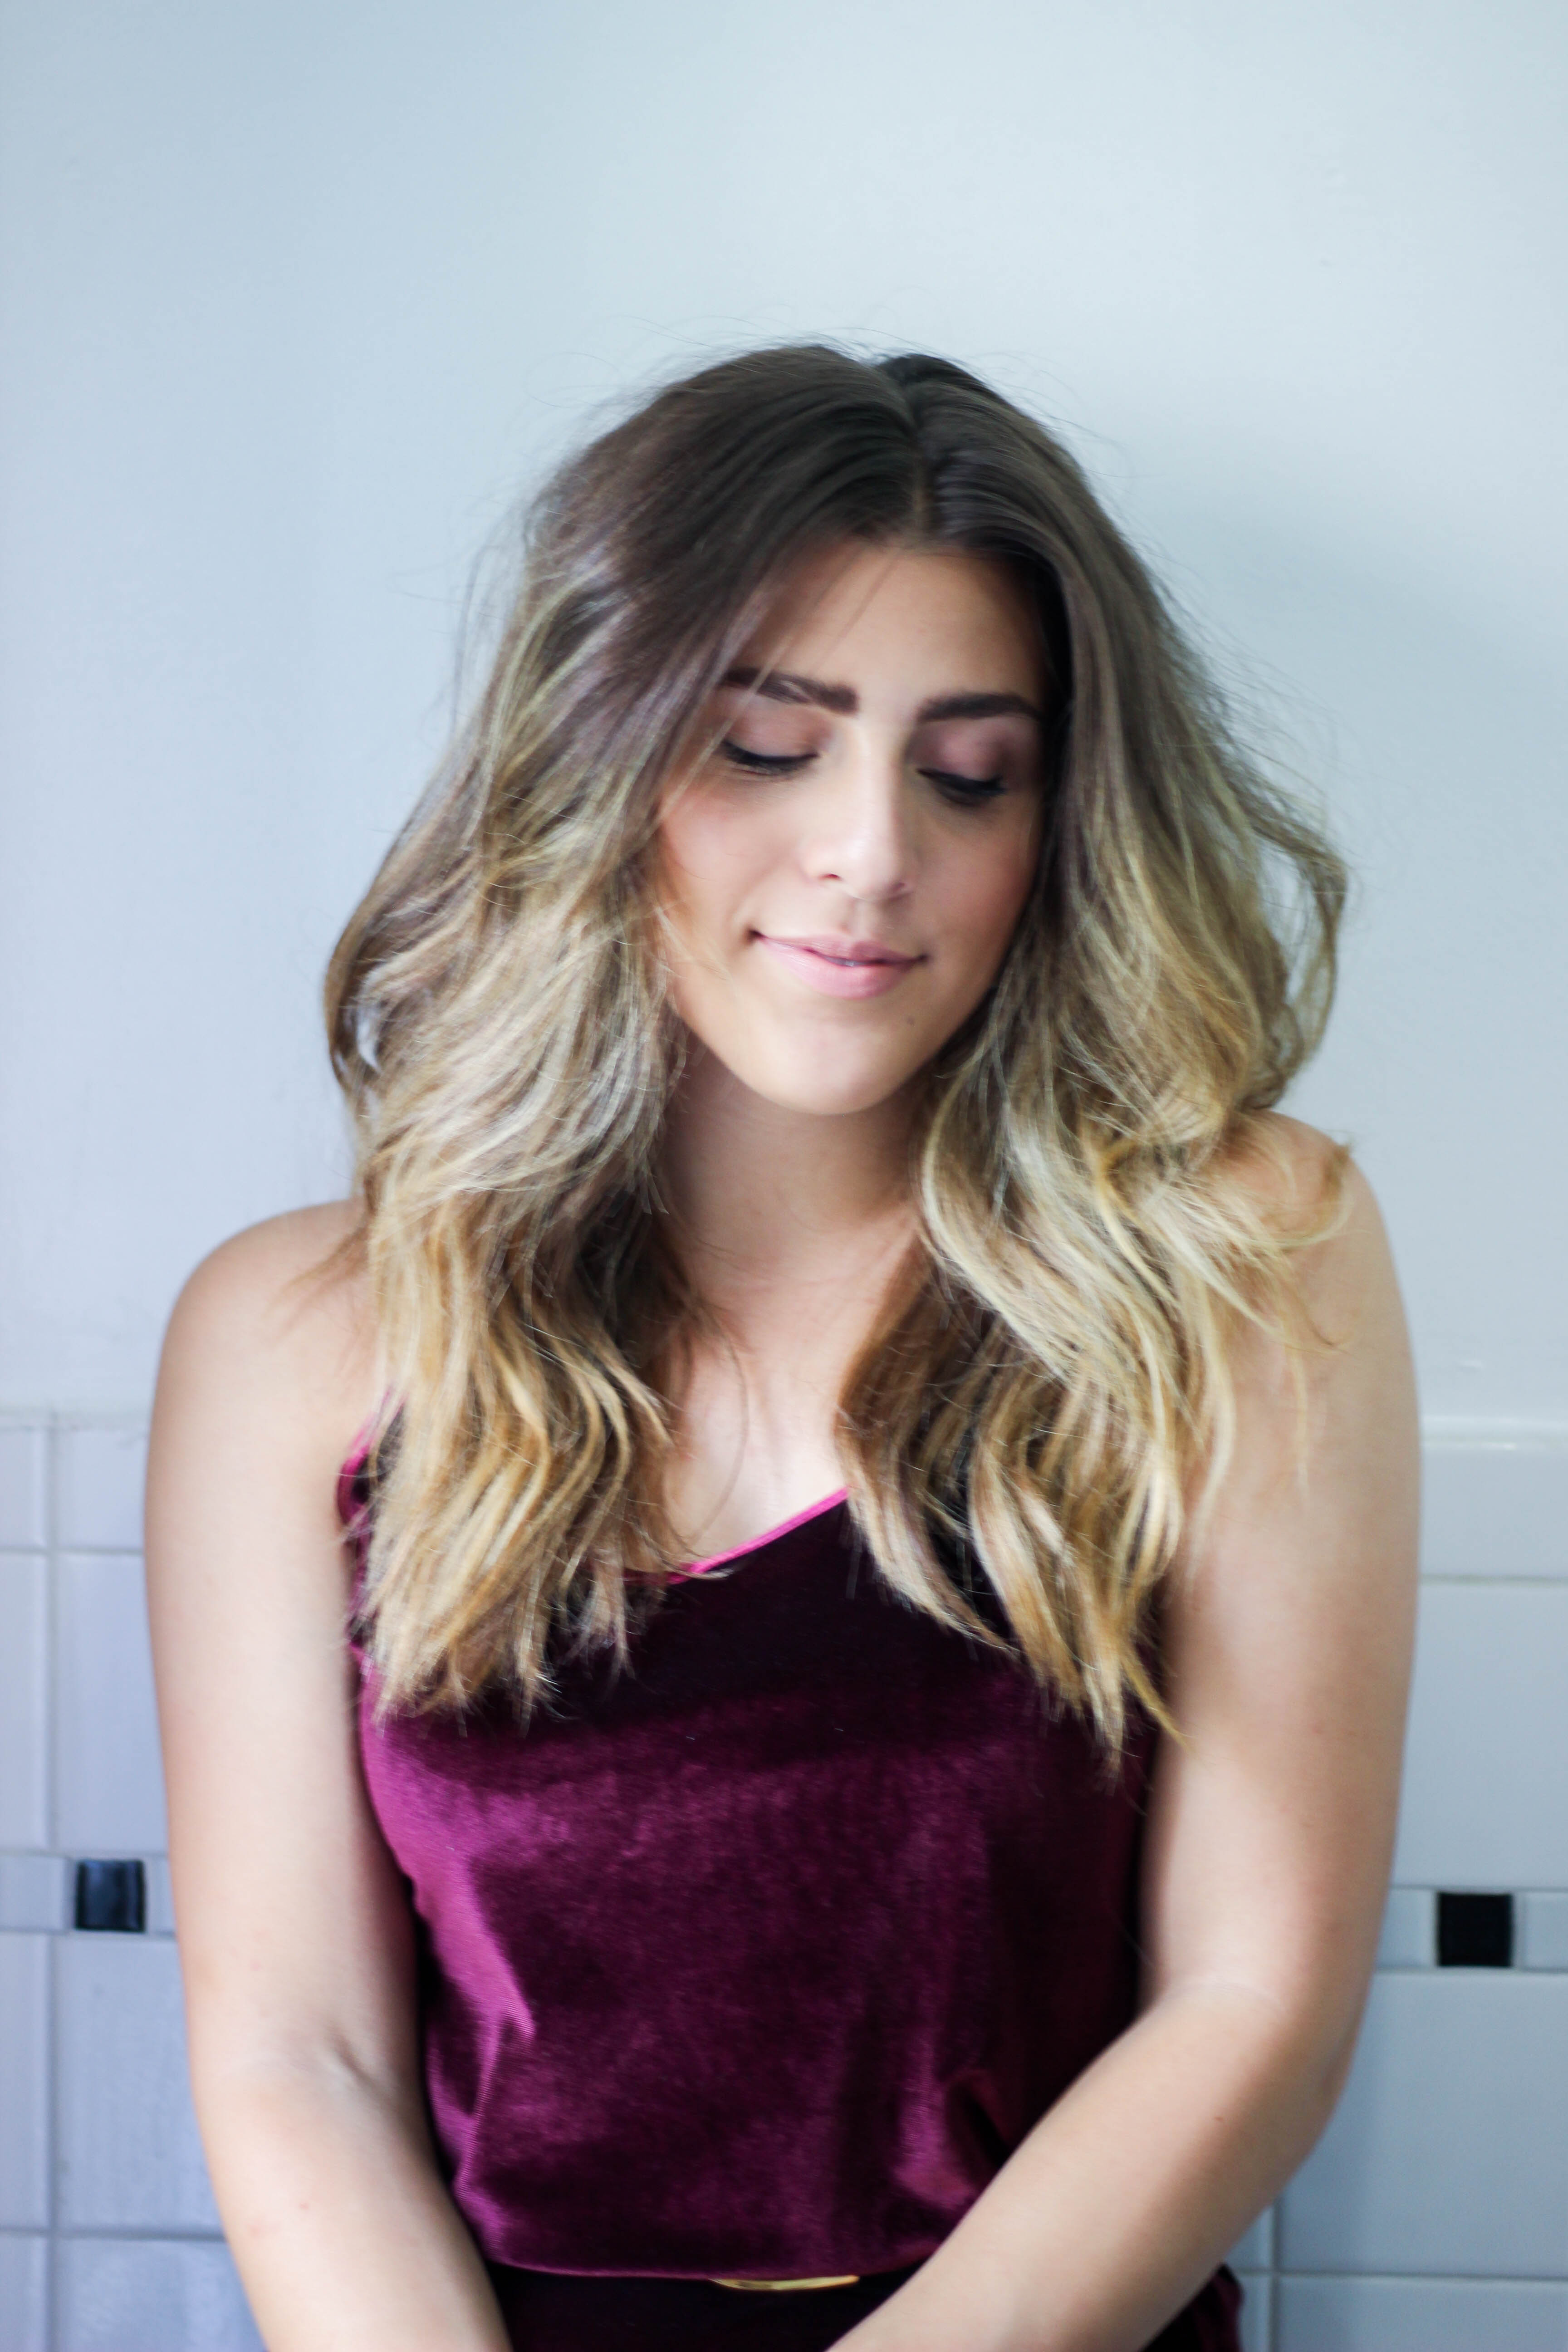
 DRESS (C/O BOOHOO) | BELT (GUCCI – THE REALREAL) | CURLING IRON (C/O BEACHWAVER)

I LOVE this look ! You’re gorgeous!